How To Intensify Photoshop’s Go To Filter High Pass With Curves
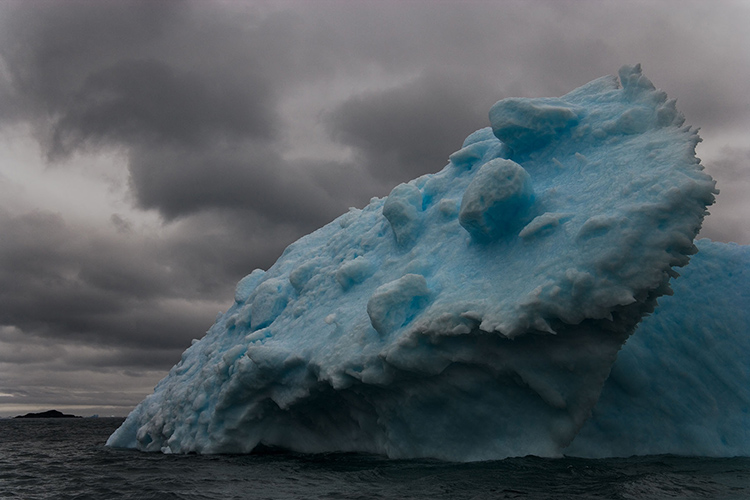
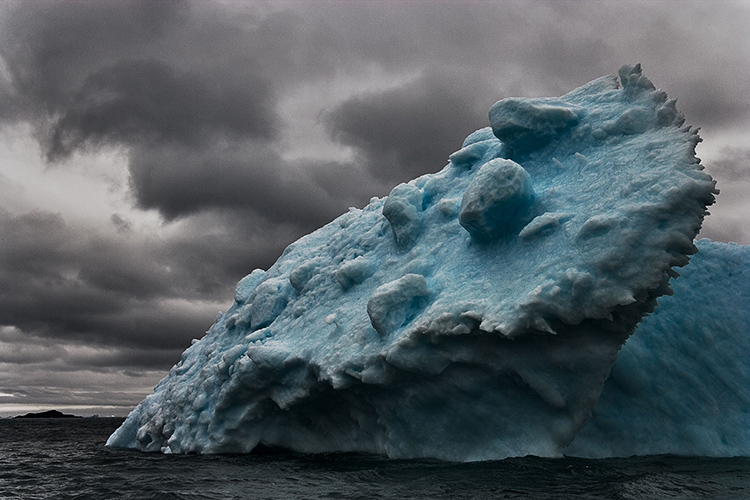
Indispensable, Photoshop’s High Pass filtration offers contrast and sharpening effects no other tool does.
(Read Curves, Clarity, Dehaze, High Pass, Texture and Sharpening Compared.)
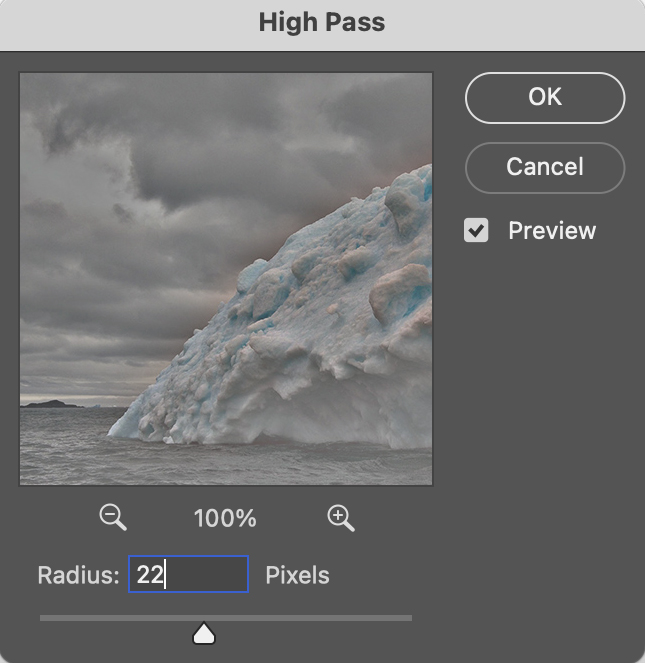
With only one slider, High Pass filtration slip streams between sharpening or detail enhancement (at a low setting) and luminosity contrast adjustment (at a high setting). The two are intimately tied to one another; the difference is the granularity that the contrast is applied. At a low setting, High Pass filtration accentuates contrast along contours with a thin feathered line, while the flat gray areas surrounding contours on the high pass layer tend not to accentuate texture or noise. At a high setting High Pass filtration creates stronger contrast so broadly feathered that it creates a localized vignetting effect, accentuating the illusion of volume in the process.
(Read more here on How To Apply High Pass Filtration.)
The intensity of either or both of these High Pass effects can be accentuated by adding more contrast to the High Pass layer with Curves. Unlike raising the High Pass filter slider while you apply it, which increases the width of the lines on it, increasing the contrast of the layer with Curves does not; it simply makes the lines darker and the haloes brighter.
Take these steps ...
No Comments