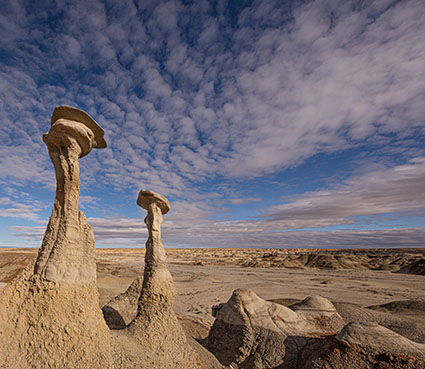
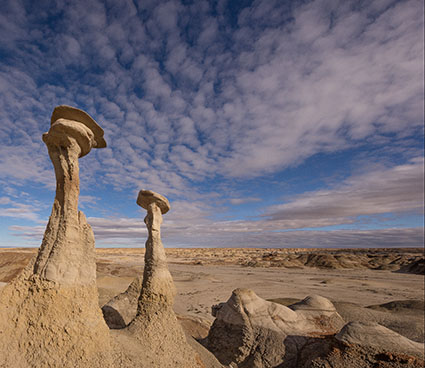
How To Get Perfect Results With Adobe Lightroom & ACR’s Lens Blur
Colin Smith shows how to use the new Lens Blur in Lightroom and Adobe Camera RAW, including refining the blur and adding bokeh.
00:00 Intro
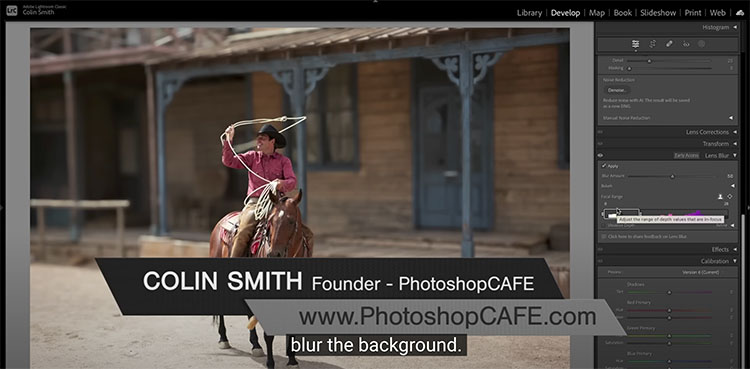
00:15 How to apply Lens Blur in Lightroom and Camera RAW
00:50 Lens Blur Settings
01:16 Focal Range, change the focus distance
02:06 Visualize Depth
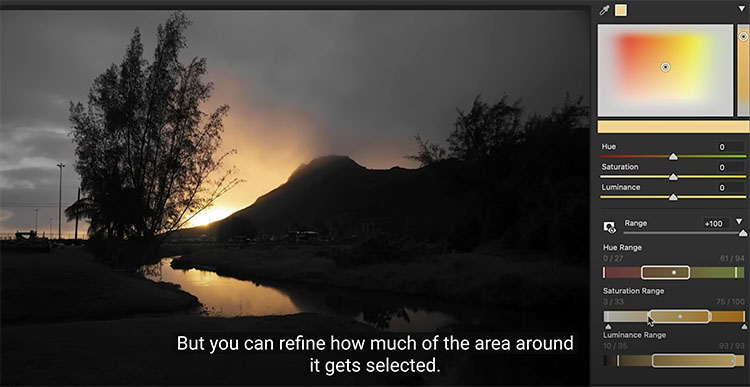
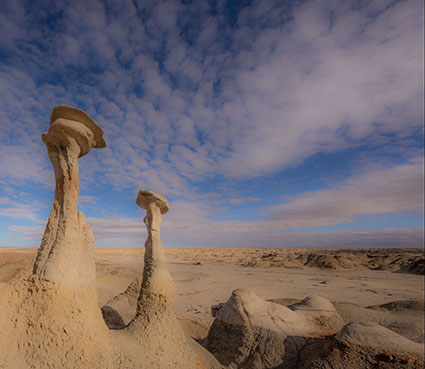
02:46 Changing Blur area
03:43 Refining the selection, manually fixing the blur area
07:03 Multiple blur planes. matching the background
07:46 Final Settings for the most realism
08:17 Setting the Bokeh
08:58 The Different types of Bokeh
View more from Colin Smith here.
Learn more in my digital photography and digital printing workshops.