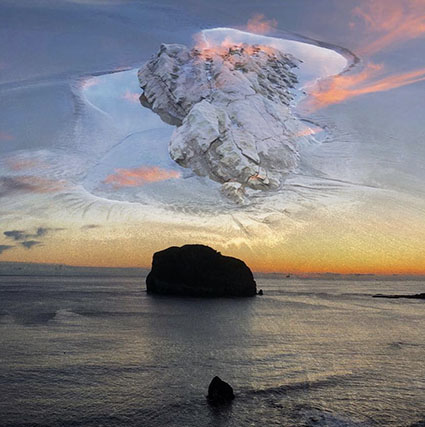
How To Select And Mask Hair And Fur With Photoshop 2024

“How to cut out hair and fur in Photoshop, with perfect edges. Colin Smith completely explains Select and Mask in this Photoshop Masterclass. Part 1 of 2.”

00:00 INTRO
00:34 Cutout, bringing into Select and Mask
01:34 Viewing Modes
02:58 Awareness Modes
03:33 How Select and Mask Works
05:29 Best Way to refine hair selections
07:31 Fixing Jaggies and Smudgies
09:22 Saving selections
10:14 Fixing Smooth Edges
11:13 Combining different refinements
13:17 Fixing Fur

Find out more from Colin Smith at Photoshop Cafe.
Learn more in my digital photography and digital printing workshops.

Tips To Help You How To Sequence Your Images Like A Pro

Clouds roll in.

The sky clears.

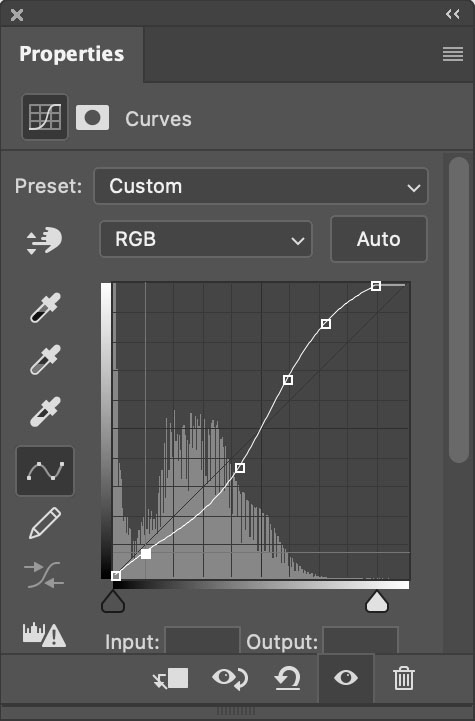
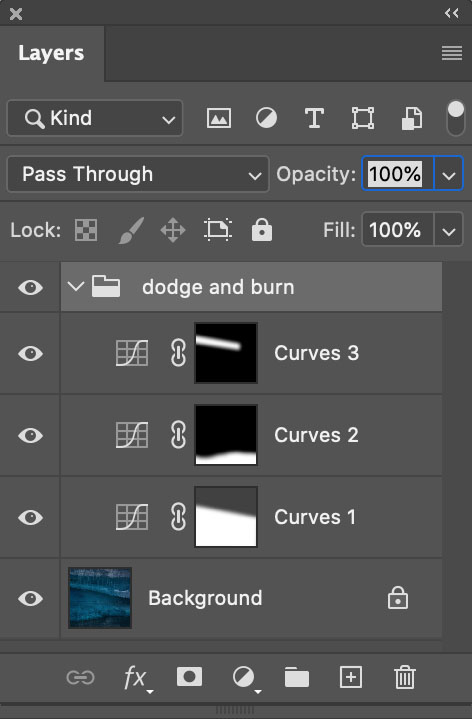
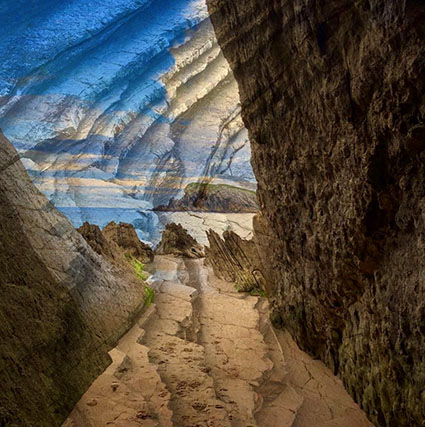
Sequence can enhance images and may even change the stories they tell.


Sequence

How you present your images can be as important as which ones you select. It’s the art of sequencing (and it is an art), which involves specific techniques that you can learn. What are some of the guiding principles involved? Here are a few.

Quality

Start strong. Finish strong. Make getting there interesting. Whether a symphony, a novel, or an exhibit, it’s good advice for arranging any creative project.

Identifying your strongest image is essential. It sets the highest level of quality, against which all others will be measured. It alone may help you create an appropriate structure for the rest of your work. This singular image is often used to lead a body of work (in the announcement of your project and possibly as the first images seen in the sequence), becoming the most frequently viewed image.

While you may want to arrange your images from strongest to weakest for your own information, you certainly don’t want to present them to other people this way. Instead, you want to tease out your strongest images along the way, sustaining attention toward a strong finish.

While not every image you include in a project needs to be equally strong, a majority of images included should be representative of your best work. The rest should be almost as good. Use lesser images only when they help illustrate essential points that would otherwise be overlooked or add complexity and dimension.

No amount of arranging will make up for the lack of high-quality work. It may be easier to build mass into a project by including lesser amid stronger works; this is rarely an effective strategy. Quality makes the primary impact. Volume is secondary. Even if taken to an extreme, a large dose of average work is far less impressive than a small dose of high-quality work.

To sequence a project, you can use the metaphor of building a fence. The strongest pieces can be thought of as posts. The less strong pieces can be thought of as rails. You want to start and end with the very strongest pieces to create a strong structure. You want to periodically reinforce runs of less strong units with one or more stronger units. You don’t want long runs of rails without posts, or the structure may fail. A fence made only of posts becomes something else entirely, a wall with no variation or grace. The number of strong pieces you include determines how long your fence can be before it gets weak or falls apart.

Story

It’s helpful to identify the story you’re telling. This will impact not only your selection of images but also your presentation of them. Think of each individual picture as a chapter in a book. Simple phrases and sentences can help you. You can logline the entire story, and you can also logline single images (if not every image, then key images that mark transitions) to better understand the function they serve.

Read More

3 Ways To Adjust A Skies In Lightroom and Photoshop

“Look at three ways to adjust your skies in Lightroom and Photoshop. Each works a little differently, and some make automatic selections – which works well sometimes. While others require a little more work but can give better results.”

How To Use Photoshop’s Powerful Object Selection Tool To Quickly Edit Images

“In this video, you’ll learn to discover how to use Photoshop’s Object Selection tool to select objects and regions within a photograph quickly, as well as learn tips and shortcuts for customizing overlay options, choosing selection modes, using the Mask All Objects command, and setting Image Processing preferences.”

The Art of Visual Storytelling – Sarah Leen & John Paul Caponigro

.
Tuesday, December 14, 2021 – 6:00-7:00 pm (Mountain Time)
.

Creativity Continues at Santa Fe Workshops with The Art of Visual Storytelling, a conversation between photo editor Sarah Leen and photographic artist John Paul Caponigro.

During this informative and captivating hour, Sarah and John Paul discuss personal projects and how they often lead us deeper into creativity and to our greatest growth both personally and professionally. But how do you start and sustain them towards completion?

Sarah and John Paul dive deeply into the craft of visual storytelling, essential skills for every photographer that will inspire a lifetime of creative exploration. Through the fine art of deliberate image selection, you can transform a collection of photographs into a compelling, dynamic narrative. Join them to learn strategies for choosing, combining, and sequencing diverse images into cohesive bodies of work for presentation online, in print, or for exhibition. We’ll celebrate personal projects as our best way to discover and develop our authentic visual voices. You’ll see real-world examples and hear the stories behind them that are sure to inspire you. This program finishes with a lively question and answer session open to all participants.

Join Santa Fe Workshops worldwide community of photographers and writers as Creativity Continues this fall.

.

The One Simple Trick I Use To Improve All Of My Images With Photoshop

Before

After

Curves offers more precise tonal control than any other tool. So when I need precision dodging and burning (about 80% of the time) I use Curves, which means I use Photoshop (PS).

I look forward to the day we can make local adjustments with Curves in Lightroom and Camera Raw. But currently, Lightroom (LR) and Camera Raw (ACR) don’t have this feature, yet. But can’t you do something similar in Lightroom (LR) or Adobe Camera Raw’s (ACR) using the six Basics sliders (Exposure, Contrast, Highlights, Shadows, Whites, Blacks), in combination with the Adjustment Brush, Graduated Filter, or Radial Filter, even in combination with Color, Luminance, or Depth Range Masks? If close is good enough, yes. If you want to make your images really shine, no.


Is it hard to dodge and burn with Curves in Photoshop? No. It’s easy.


Insights Members can login to read the full article.
Email:
or Sign up

My Top 12 Photographs Of 2018

01

Constellation

02

Constellation

03

Constellation

04

Constellation

05

Constellation

06

Constellation

07 (1)

Antarctica

10

Land In Land LXXIX

09

Land In Land LXXXIX

08

Land In Land LXXVI

11

Land In Land LIII

12

Land In Land LXXVI

This is a selection of my top 12 images of 2018. This selection doesn’t reflect sales, publication, or activities on the web. It simply reflects my opinion. Click on the titles to find out more about each image.

Geography

The locations include Antarctica, Spain, Arches National Park, Scoresbysund Greenland, and Maine.

Process

Continuing the momentum from the previous year I completed my first seriesof finished works with my iPhone – Land In Land. Processing images on location, sometimes seconds after making exposures, is a gamechanger. Even more interesting is the sense of seeing the image better at arm’s length, allowing me to see the composition and the subject simultaneously.

I was pleasantly surprised when another experiment worked as I combined images in the public domain from the Hubble telescope with my own exposures, expanding the images in my series Constellation to add images of deep space to those of stars observed with the naked eye.

Concepts

I continue to explore presenting many moments in time simultaneously to see one aspect of land through another. In more recent work, the detail and the overview are united in a single integrated experience. As ever, what’s behind and beyond shows through.

My use of abstraction has expanded from minimalism to include more complex maximal patterns.

Magic Moment

Perhaps the most sublime moments were found in Greenland’s, Scoresbysund, as the weather shifted to winter conditions creating dramatic katabatic winds and unusual ice conditions found only at the beginning of the season. Being on the only boat (a three-masted schooner built in the early 1900s) in the fiord system heightened the sense of adventure.

It was a very productive year; more than 75 new works released; more than 150 new studies made.

It’s challenging to choose so few images from so many – but it’s insightful. Try selecting your own top 12 images. Try selecting the top 12 images of your favorite artist(s).

View more of my Annual Top 12 Selections here.
View more images in my ebooks here.
View my full Works here.
View my Series videos here.
View new images in my newsletter Collectors Alert.

Photoshop Does The Work For You With Magic Wand & Quick Selection Tools

Masking_MagicWandQuickSelection_425

 Get sophisticated selections quickly.

Photoshop offers two great selection tools that use pattern recognition to make the process easier and faster – the Magic Wand tool and the Quick Selection tool. They get complex jobs done quickly and the results they generate can be quite sophisticated. But which one do you choose?


Insights Members can login to read the full article.
Email:
or Sign up

Photoshop’s Need To Know Lasso Selection Tools

Masking_Lasso

The Lasso tool is best for defining highly irregular selections manually.

Masking_PolygonalLasso

The Polygonal Lasso tool is best for defining rectilinear shapes.

Masking_MagneticLasso

The Magnetic Lasso tool uses pattern recognition to define existing contours.

Photoshop’s Lassos (Lasso, Polygonal Lasso, and Magnetic Lasso) are go to tools for drawing irregular selections.

Which Lasso tool you choose depends on the job you need to get done.

The Lasso tool is best for defining highly irregular selections manually.

Just click, hold and drag to define a selection. Draw selections in closed loops from beginning to end; if you let go of a selection halfway through a shape you’re drawing a straight line will automatically be drawn from where you let go to where you started; on rare occasions, this can be useful.

The Polygonal Lasso tool is best for defining rectilinear shapes.

The Polygonal Lasso tool differs in that it only draws straight lines. Click, don’t hold, drag to the point you’d like to draw a straight line to and click again, then repeat until you define a closed shape. While drawing a selection, you can alternate between the Lasso and Polygonal Lasso tools by holding the Option key.

The Magnetic Lasso tool is best for taking advantage of pattern recognition to define existing contours.

The Magnetic Lasso tool is different; it uses edge detection to draw. You simply guide it roughly along a contour you’d like to define and if the contour has enough contrast the tool will find it. (Using an adjustment layer, you can temporarily boost the image’s contrast, while making a selection to help the Magnetic Lasso tool find edges more easily … and then delete the adjustment layer after the selection is complete.) If you draw too quickly with the Magnetic Lasso tool it becomes less accurate. If you find you’d like to refine the line it defines you can press the Delete key to eliminate the anchor points it makes along the way, one at a time, in the order they were made.

Remember, if you plan to feather a selection substantially you don’t need to be precise; close enough will do, so don’t waste your time making perfect selections for very general applications.

Read more about Selections & Masks.
Learn more in my digital photography and digital printing workshops.

Two Powerful Keys That Will Help You Combine Photoshop’s Selection Tools

A simple Rectangular Marquee selection.
Masking_Add
A second selection is added using the Shift key.

Masking_Subtract
A second selection is subtracted using the Option key.

Masking_Intersection
The intersection of two selections is created using both Option and Shift keys.

There are so many times when you make a selection in Photoshop and it’s not quite right. But if the selection just needs a little more here and/or a little less there, there’s an easy fix.

You can press the Shift key to add or the Option key to subtract a new selection to any existing selection, no matter how the existing selection was made or what tool you’re making the new selection with (Lasso, Marquee, Magic Wand, Quick Selection). Hold both the Shift and Option keys at the same time and you’ll get the intersection of the new and old selections. You can do this as many times as you like.

Sure, you can use the Add to selection, Subtract from selection, or Intersect with selection options in the top toolbar, but these key commands are easier.

Read more about Selections & Masks.
Learn more in my digital photography and digital printing workshops.