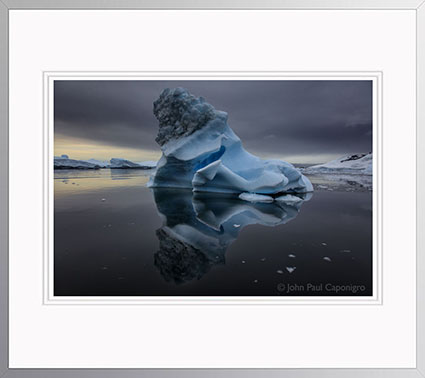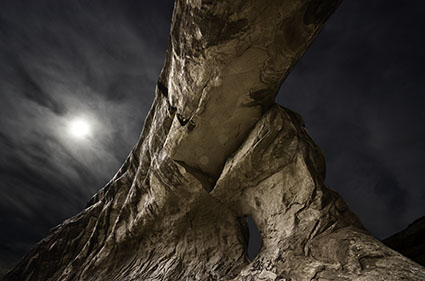
Two exposures blended
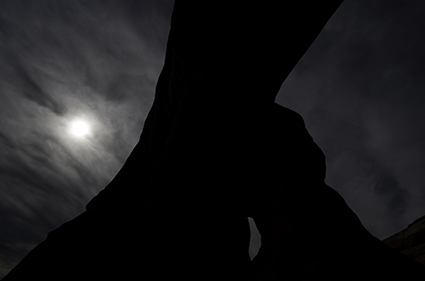
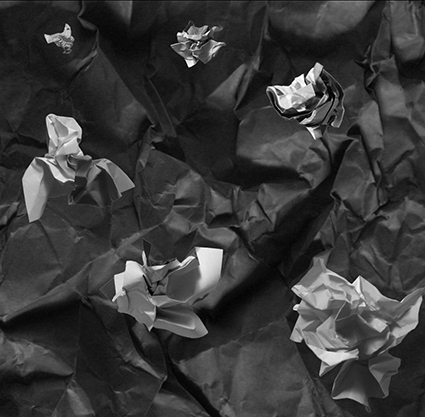
Dark exposure
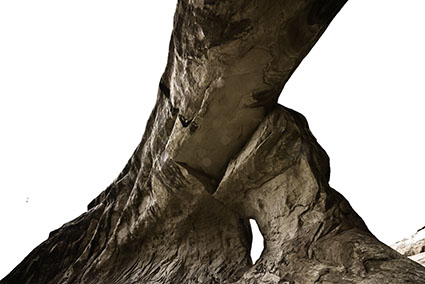
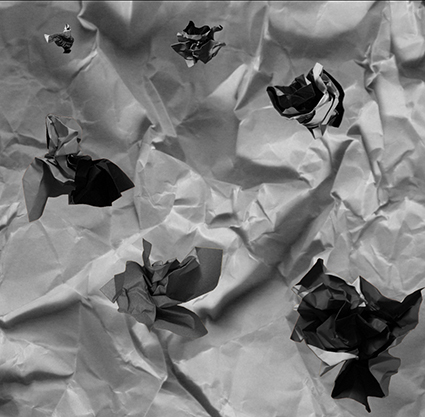
Light exposure
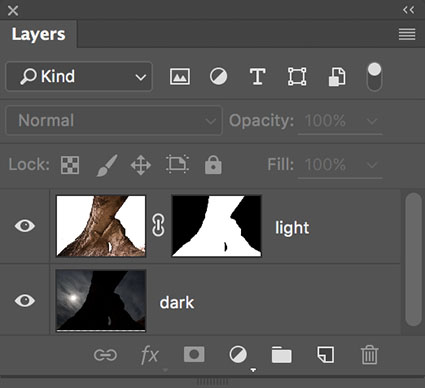
The layer stack
Sometimes Two Exposures Are Optimum
There are a variety of ways to extend the dynamic range of a camera. The four classic ways are selective adjustment, double processing a single file, layering two exposures, and merging multiple exposures with HDR software routines.
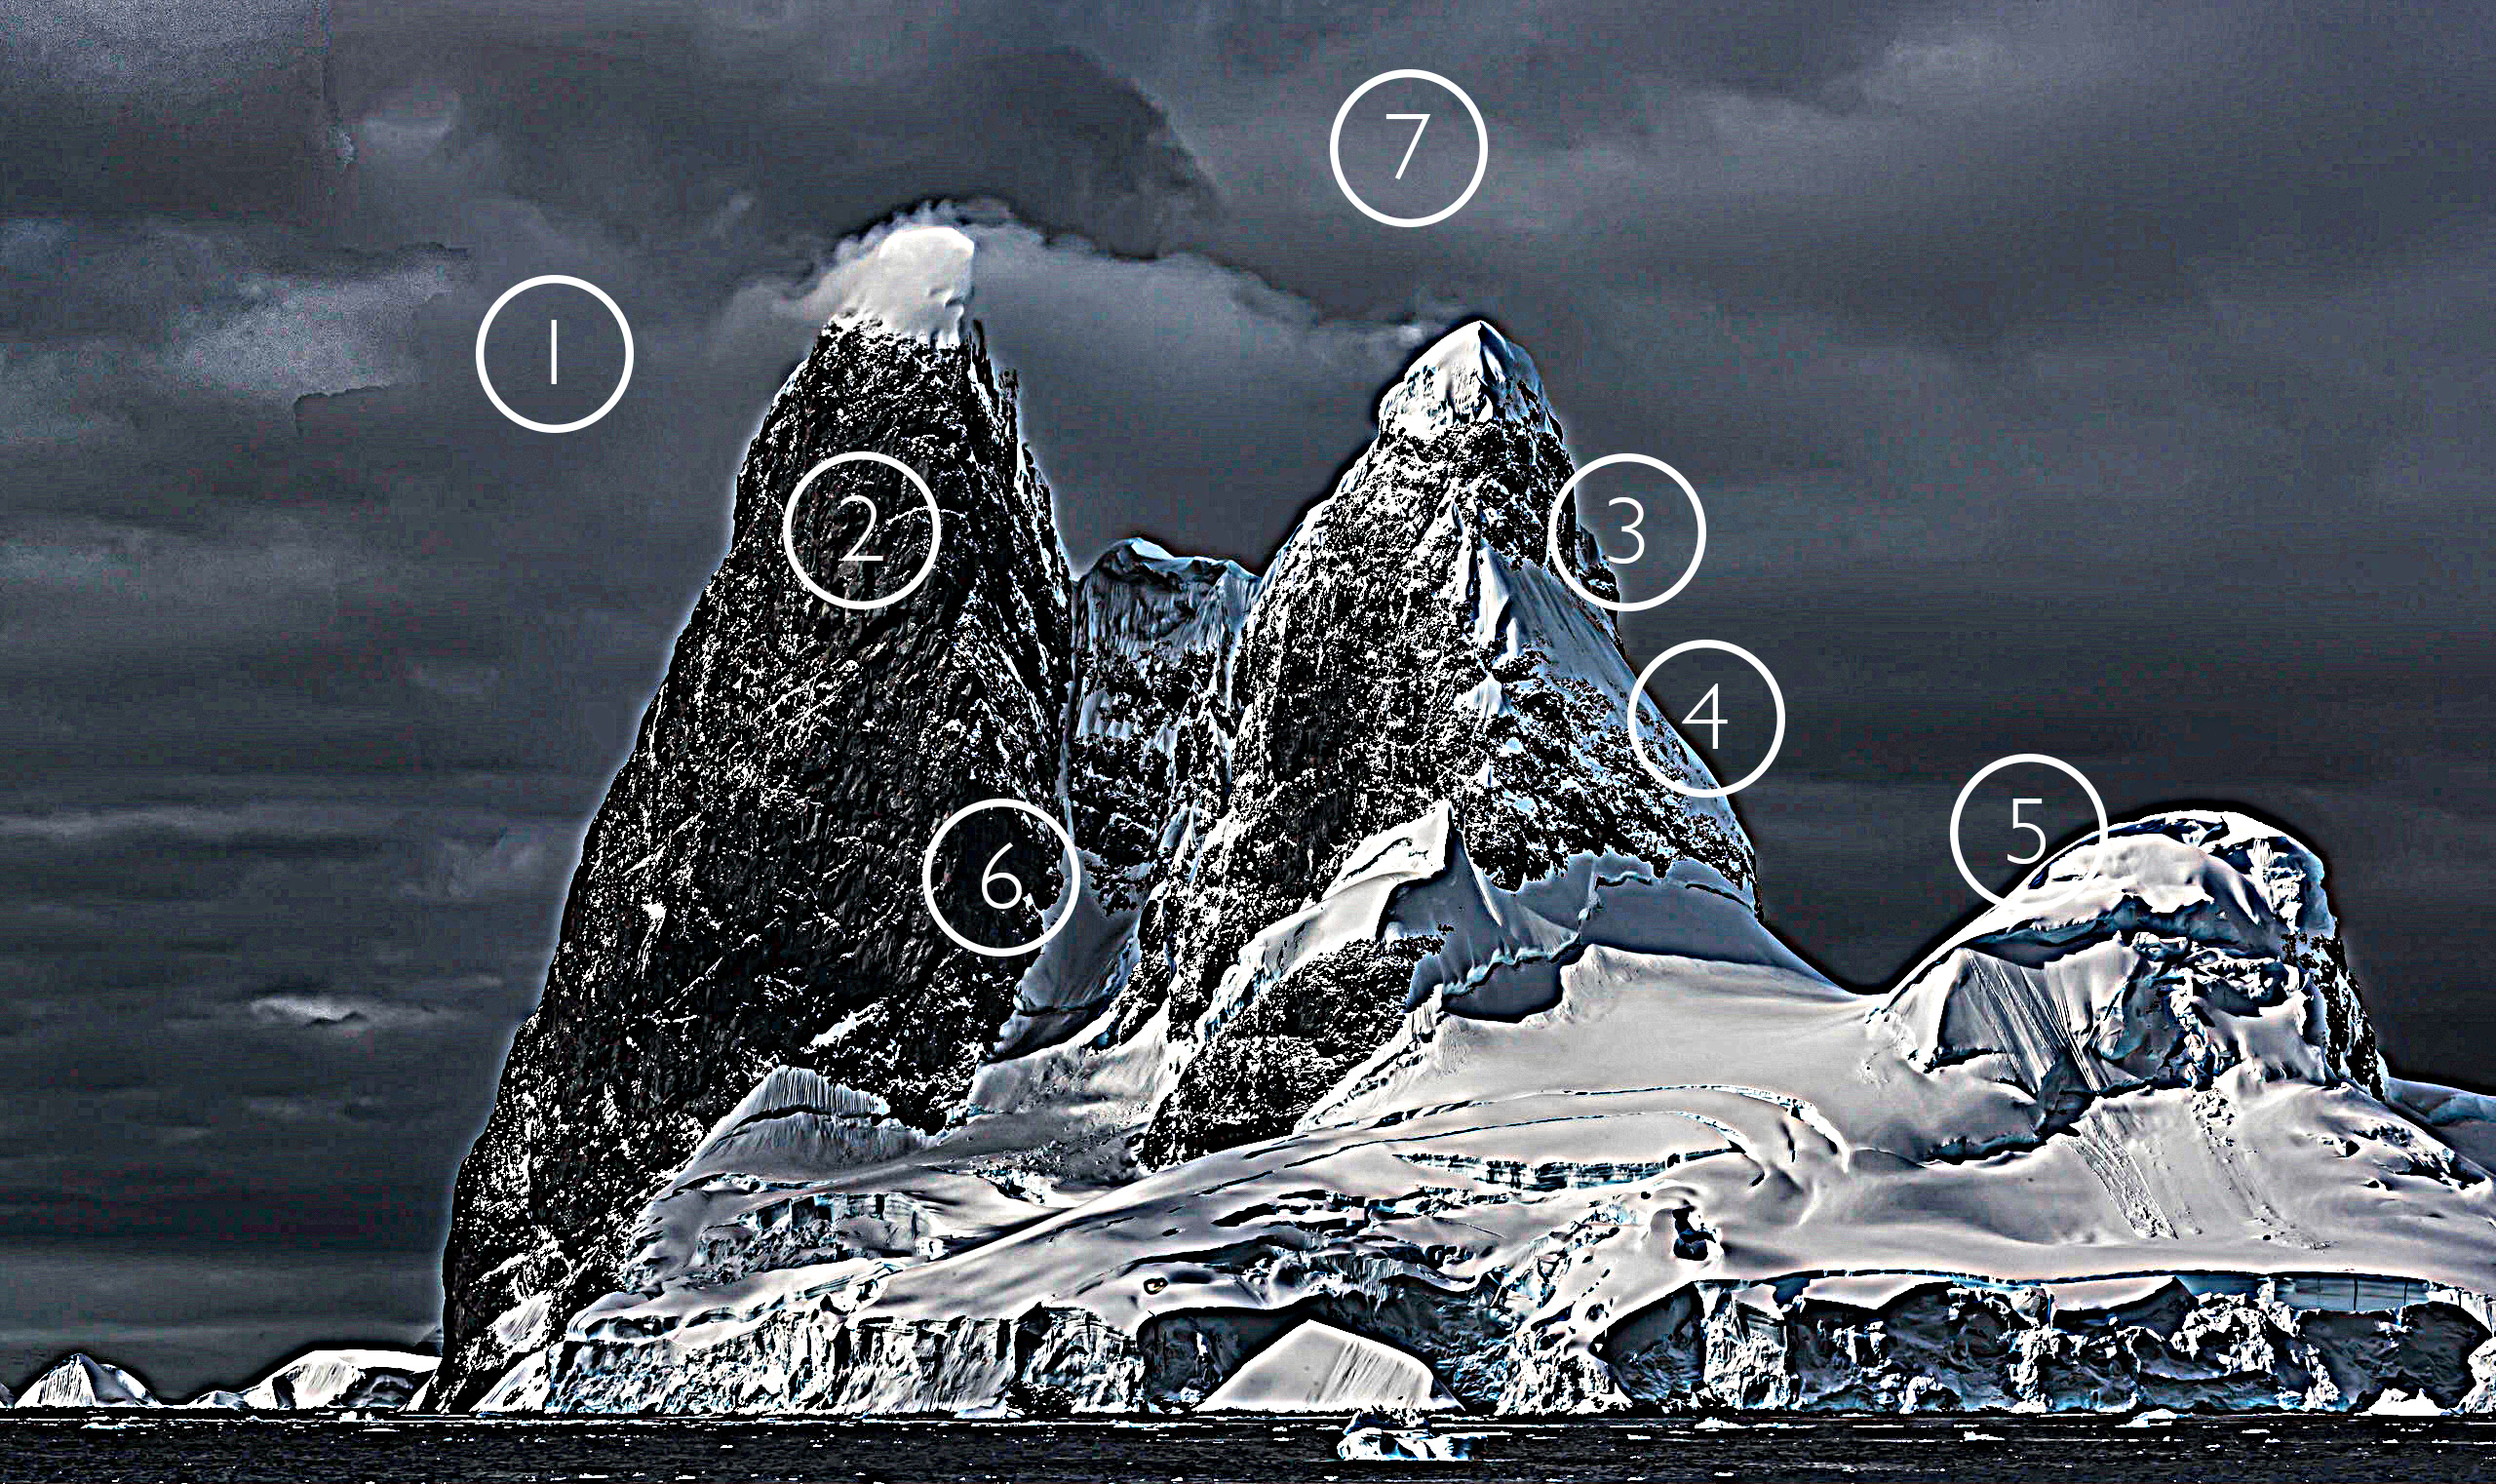
Layering two exposures produces the best results when a scene has areas of dramatically different brightness separated by clear contours, like but not limited to horizons. For these types of scenes, layering two exposures avoids artifacts that are common in HDR merges, such as saturation distortions, midtone compression, localized vignetting, and detail / noise exaggeration artifacts.
Make Two Exposures Each Optimized For Select Areas
To exceed the dynamic range of a camera’s sensor (or film) you need to make at least two exposures. During exposure(s), rather than rather than striking a compromise between very different brightness values, instead optimize one exposure for each area of brightness, the highlights and the shadows. For each area, expose to the right. Monitor clipping differently. The exposure for the highlights will be clipped in the shadows. The exposure for the shadows will be clipped in the highlights. (If this is not the case, then you may be able to use a simpler technique such as selective adjustement or double processing.)
For this technique you only need two exposures, a very dark and a very light one, but to be on the safe side, make additional exposures in between them. It doesn’t matter which end of the tonal scale (dark or light) you start with. Simply work your way up or down from one to the other. Remember, using a tripod, locking down zoom lenses, and turning off auto focus will all help you register the two exposures more easily.