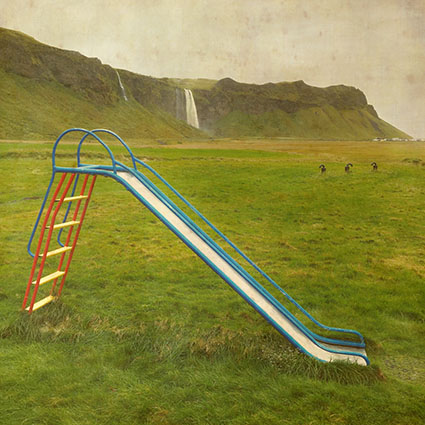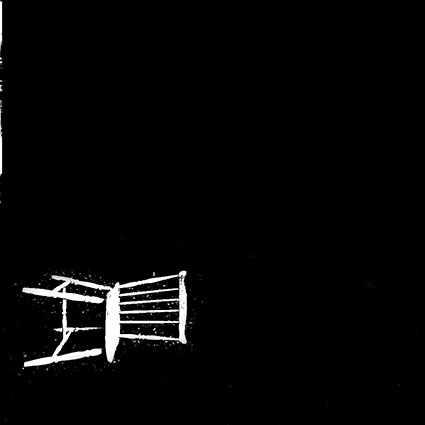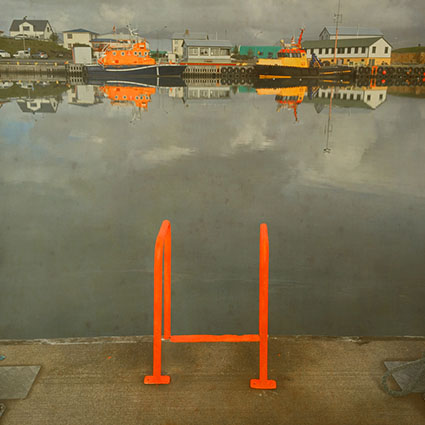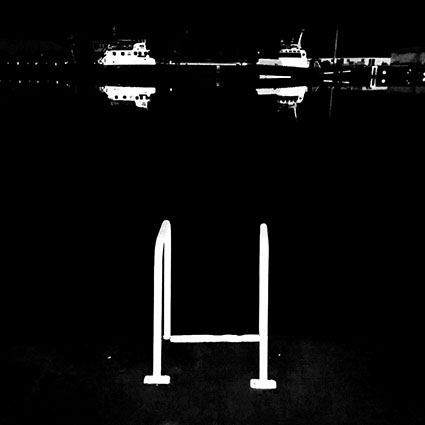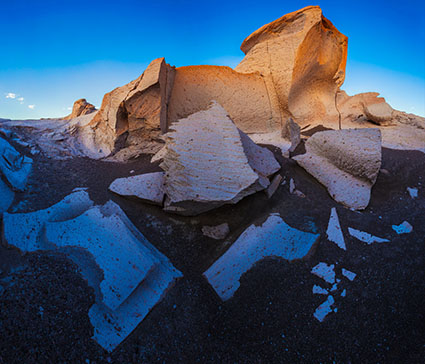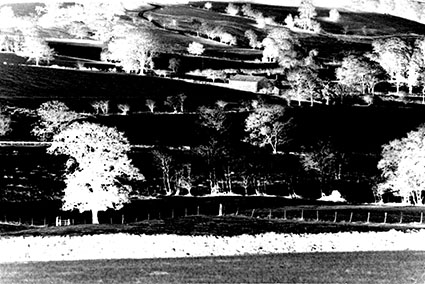
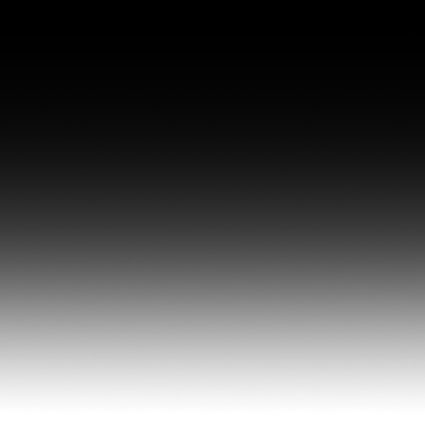
Image adjusted selectively with a gradient
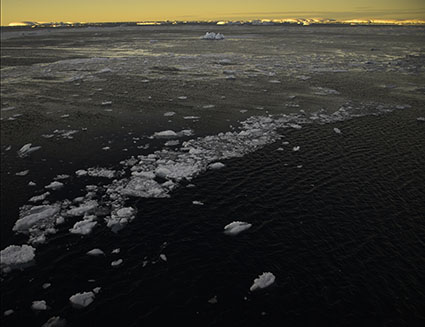
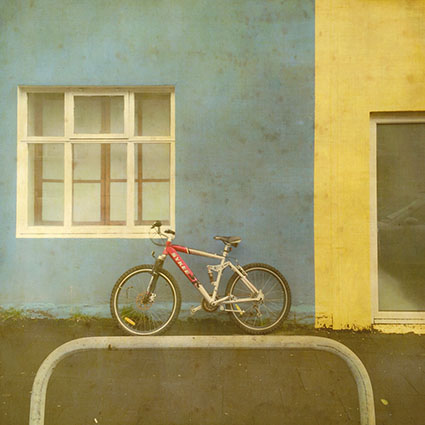
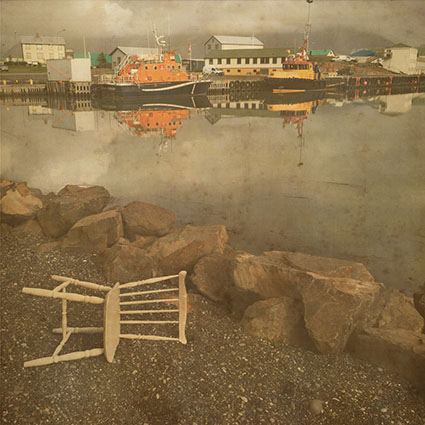
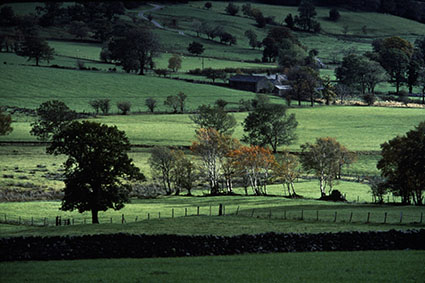
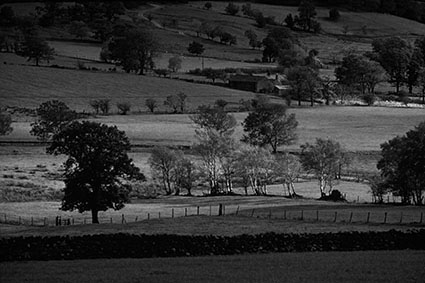
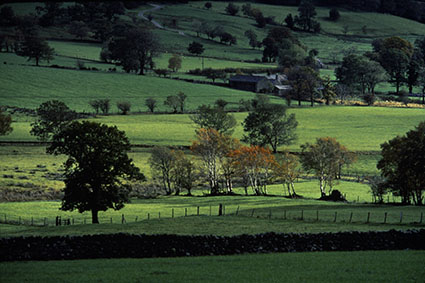
Warm exposure
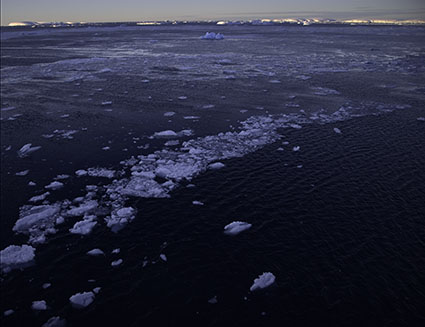
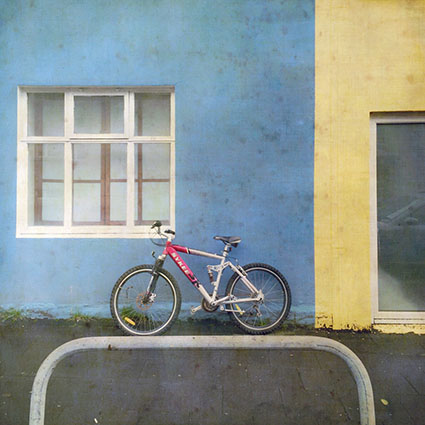
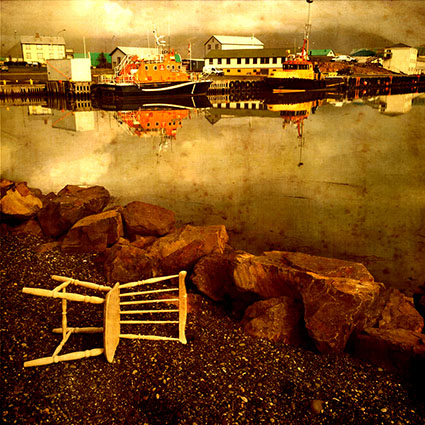
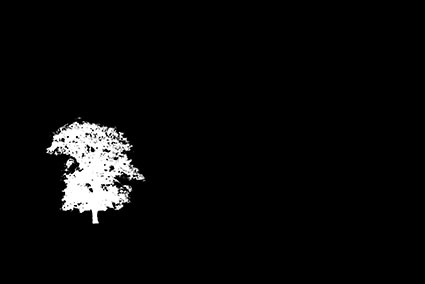
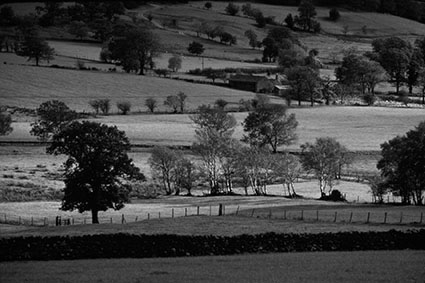
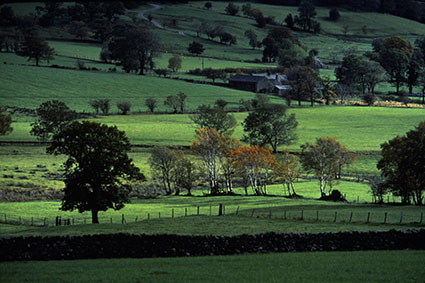
Cool exposure
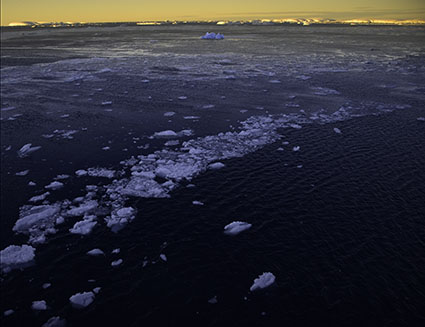
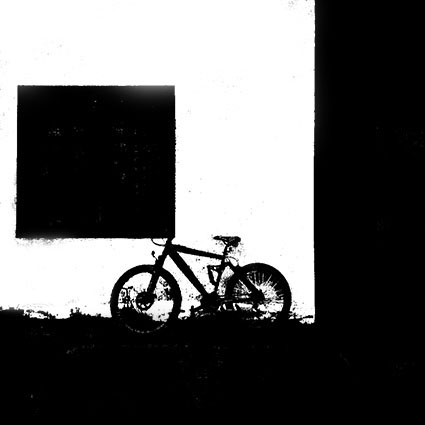
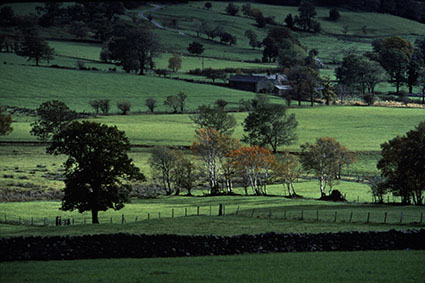
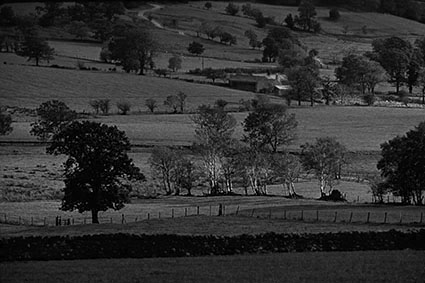
Two exposures blended with a gradient mask
Smooth transitions. They’re the essence of continuous tone images. In most cases, you want to preserve them. On occasion, you want to modify them. Sometimes, you want to create them.
While gradients can be used as image layers, they are more frequently used as layer masks. Gradient masks can be used in two central ways, ways that differ from one another significantly. First, gradient masks can be used to selectively reduce the effects of any correction made as an adjustment layer. Second, gradient masks can be used to selectively reduce the opacity of any image layer.
Digital correction with gradient mask techniques replace and surpass using traditional graduated filters. Not only can you make more precise corrections digitally, with gradients you can control the placement of the gradient and transitions within it more precisely. The gradient is uncoupled from the exposure and is indefinitely and infinitely modifiable.
You can do much, much more with gradients. Here are a few of the things you can accomplish using gradient masks.
Transition between stronger and weaker settings of a correction – enhance contrast and color balance selectively, reduce fall off, neutral density filtration, color filtration, add or remove vignetting, etc.
Transition between dark and light exposures – extending dynamic range.
Apply filtration selectively – sharpening, blurring, noise, etc.
Transition between exposures with different points of focus – increasing depth of field.
Transition between adjacent exposures of the same subject – increasing format.
Transition between more saturated and less saturated renditions of an image – accentuating atmospheric perspective.
Transition between the same image with two different white point settings – accentuating or creating the appearance of mixed light sources.
Believe it or not, this is only the beginning of the possibilities gradients offer. Mastering gradients is an essential digital skill.
Although gradients can be extremely complex and can yield extremely sophisticated results, once the basic principle behind them is firmly grasped, they are actually quite simple to create and use.
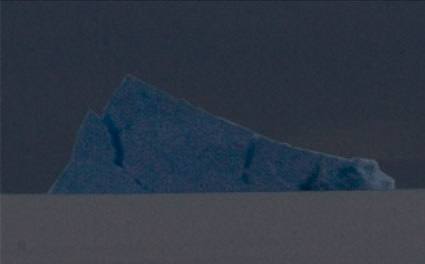
Gradients are easy to create. You’ll find the Gradient tool (essentially a brush) midway down the Toolbar, below the Eraser and above the Blur tool. With the Gradient tool active click hold and drag a vector across an image, either on a layer mask or less frequently on a new blank layer. A gradient will be created between the start (where you click first) and endpoints (where you drag to). The start and endpoints may be placed anywhere on the canvas. Gradients can be drawn for any length at any angle. The shorter the distance between the two points, the tighter the gradient will be with more abrupt tonal transitions. The longer the distance between the points the softer the gradient will be with smoother tonal transitions. Favor longer gradients with smoother transitions. They can always be tightened and repositioned by adjusting contrast. (Reducing contrast will not produce the opposite effect; it will posterize the gradient.) There may be times when you want to place a start or endpoint outside the border of an image. You can do this by expanding the window around the image. Click and drag on the lower right-hand corner of the window. Gray will be seen surrounding the image but inside the window. A start point, endpoint, or both may be placed anywhere within the window.
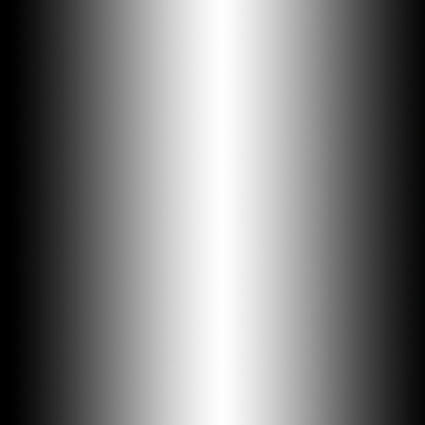
Linear gradient
Reflected gradient

Radial gradient
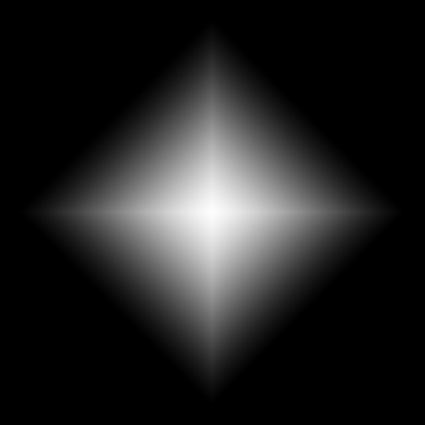
Star gradient
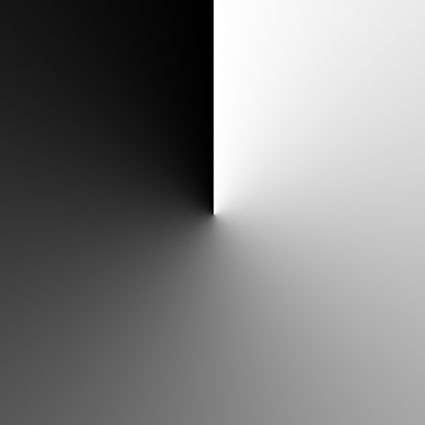
Angle gradient
There are five types of gradients to choose from. Two, Angle and Diamond are of limited use. Three, Linear, Radial, and Reflected are very useful. Linear uses the start and endpoints to define a gradient along a line. Radial uses the start and endpoints to define the radius of a circle. Reflected uses the start and endpoints to define the center (foreground color) and outsides (background color).
Of the sixty-six gradient presets you can choose from, the first two serve most purposes – Foreground to Background and Foreground to Transparent. (Most people can pretty much forget about the other sixty-four presets.) Classically, black and white or shades of gray are most frequently used.
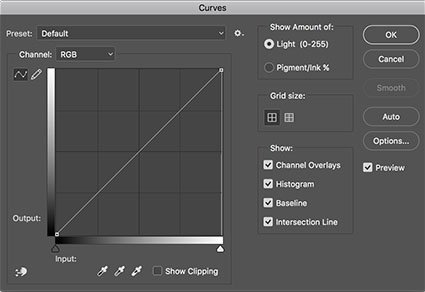
Curves gives you more control
Gradients can be extraordinarily flexible. You can alter the characteristics of a gradient by checking the Edit button under the gradient Options palette. If you don’t get precisely the effect you’re looking for, you can try again. Or, if you’re fine-tuning a monochromatic gradient there’s an easier way. After creating a gradient, slightly longer than you think you need, apply a Curves adjustment to the gradient (Image > Adjustments > Curves). Move the midtones; shift the midpoint. Move the highlights left and/or shadows right; shift the endpoints – quickening the transitions in between. Move the white point down and/or the black point up; change the endpoints to gray. Move the white point down to the black point and the black point up to the white point; invert the gradient. That’s control!
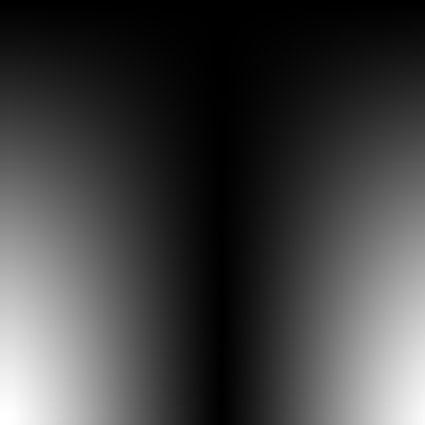
Linear and Reflected gradients combined
You can combine multiple gradients with one another in a variety of ways. Here are two. One, start with one gradient and use the Foreground to Transparent option to add a second. Two, start with one gradient and change the Gradient Tool’s blend mode to Darken or Lighten to add a second. The two methods sometimes yield different results.
Blend modes can be used to modify how a gradient interacts with the image it is drawn on in a variety of ways. For the most control, don’t use the blend mode with the brush; instead, draw the gradient on a separate layer and use the blend mode of the layer to achieve the same effect with more flexibility and control.
You can reposition any gradient using the Move tool. Moving a gradient mask on an adjustment layer presents few problems. You can easily tell if you are working on the image or the mask – its icon will be highlighted. Because and image layer and its mask are linked, to move a mask separately you must first unlink the two by checking off the link icon between them and then targeting the mask to move it separately. It’s likely you will want to relink the two when you are done.
Gradients can be transformed substantially (Edit > Free Transform).
Gradients can be created within active selections to affect only selected areas.
Some gradients suffer from banding. To reduce the effects of banding, add a small amount of noise (Filter > Noise > Add Noise); this will often break up the effect of banding. Be careful not to overdo it or you’ll simply trade one distracting artifact (lines) for another (dots).
But wait, there’s more! Here are three more ways to create extremely useful gradients.
Use a soft-edged brush to create a gradient
One, use a soft-edged brush; the feathered edge automatically creates a gradient.
Two, make a selection, then make an adjustment layer, double click on the mask to activate it’s properties, and use the Feather slider. I don’t like automatically feathering selections. I prefer this method over automatically feathering selections: you get a better preview; you get more precision; and you can modify the gradient by reactivating a masks’ properties.
Blur a shape to create a gradient
Three, blur a hard-edged shape and you can create a gradient. By the same token, if a gradient does not have sufficiently smooth transitions it may be blurred, in whole or in part; watch for posterization if you do this.
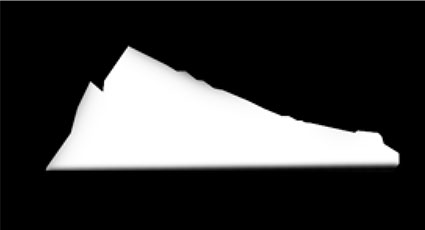
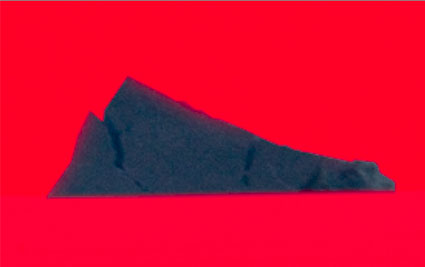
Remember, masks are black and white images. Anything you can do to a Grayscale image you can do to a mask – adjust its contrast, filter it, transform it, Liquify it, clone it, paint it, etc.
Learning to make good gradient masks is an indispensable skill for adjusting digital images. Their power and versatility are simply unrivaled.
Read more about Selections & Masks.
Learn more in my digital photography and digital printing workshops.