How I Title My Images

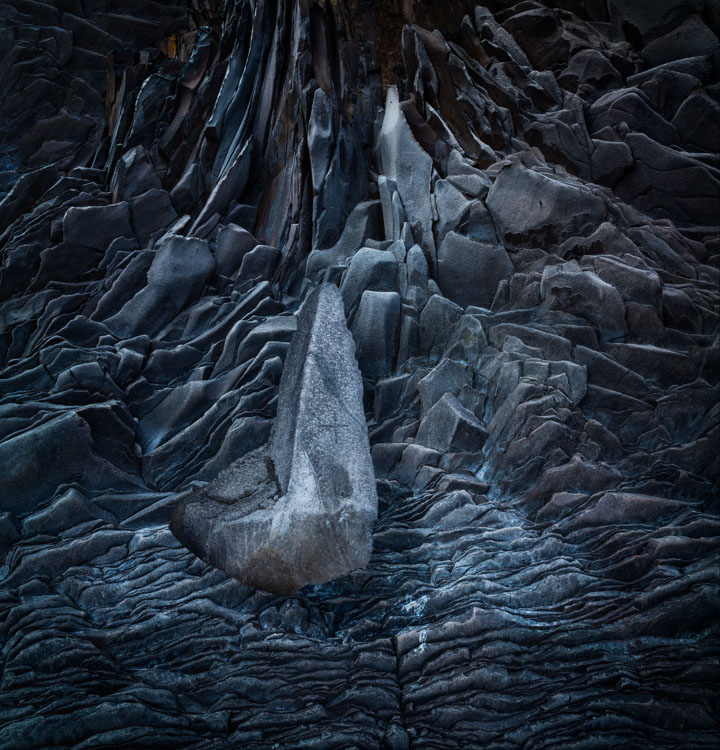
Illumination I, 2000
Titles have always been challenging for me. While I always use a working title for a developing series, often, I don’t know what to title the works until I truly understand them – and that can be long after they’ve been created. Sometimes I change the titles of a few of my images after I’ve released them.
Most of my images, being a combination of at least two images from different times and places, don’t fit the typical place date format. To date, I’ve only used this type of title for one series, Antarctica, because I want that work to be seen as more editorial in nature.
Because I want to leave plenty of room for the viewer, I avoid titles that impose a single interpretation on a work of art – Exhibit A : Evidence Of My Failed Relationships. I also don’t want a title to make up for what’s not already strongly felt in an image –Unimaginable Grace.
Initially, I grouped work according to the dominant natural element in it, using a set of six series, interlocking because many images can fit into more than one series, under one larger title – Elemental: Dreaming In Stone; Waterway; Fire Within; Aerial Boundaries; Songs From Wood; and Animalia.
Later, I came to understand there was a further reason I didn’t use standard place/date titles. I want my images to be seen not as records of things (a materialistic viewpoint) but as traces of processes (a wholistic viewpoint).
I’d like to use an active verb for my titles, but the image isn’t the active process itself, it’s some thing made from observing processes. So instead of the word Illuminating, I use the word Illumination.
I use a number to indicate the order of creation in a series.
The date attributed is the date of release, not the date of exposure.
Read How To Title Your Images here.
Read more about how writing can boost your creativity.
Learn more in my digital photography and digital printing workshops.