Quickly Remove Distracting Elements Using Generative Fill in Photoshop
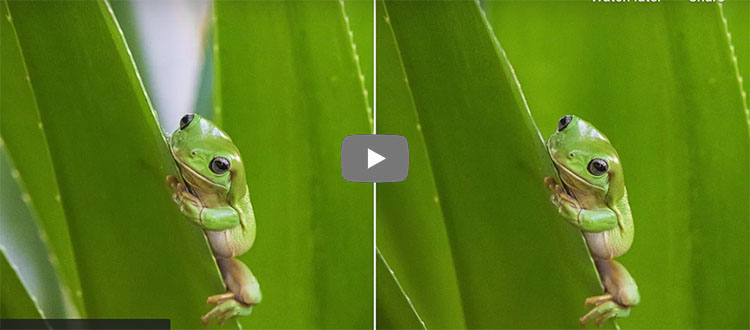
Julianne Kost demonstrates how to use the Object Selection tool, Generative Fill, and Camera Raw as a smart filter to remove distracting bright areas in the image and put more emphasis on the subject.
For more check out Julieanne’s blog.
Learn more with my Composition resources.
Learn more in my digital photography and digital printing workshops.