5 Reasons to use Smart Filters in Adobe Photoshop
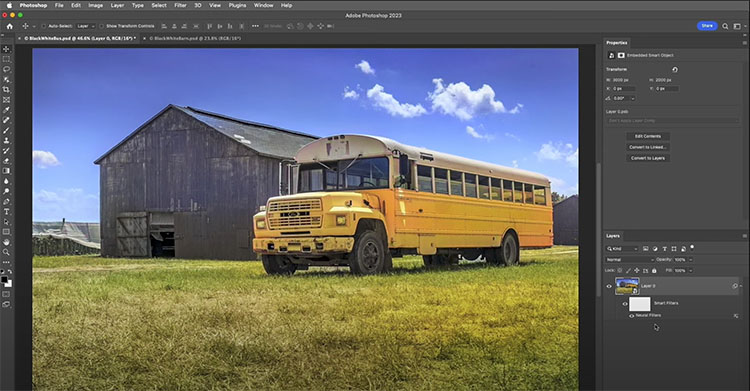
“In this video, Julieanne demonstrates five reasons to use Smart Filters in Photoshop, including how to edit, mask, stack, move, duplicate, and change blend mode and opacity of Smart Filters in Photoshop.”
View more of Julieanne’s videos.
Learn more in my digital photography and digital printing workshops.