When & How To Sharpen – The Creative Image Sharpening Workflow
The vast majority of photographic images benefit from sharpening.
Before you decide how and when to sharpen images, you need to decide why you’re sharpening them.
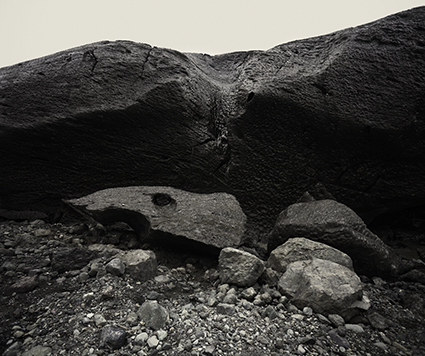
The goal of sharpening is to enhance detail rendition without producing distracting visual artifacts.
You’ll find many conflicting philosophies and their accompanying strategies for sharpening images. The seemingly conflicting advice can be hard to reconcile.
Should you sharpen once or multiple times? Should you sharpen differently for different subjects? Should you sharpen differently for different sizes? Should you sharpen differently for different presentation materials or supplies? Should you view your files at 100% or 50% screen magnification?
Capture source, output device, substrate or presentation device, presentation size, subject, and artistic intention all play a role in sharpening. The characteristics and solutions for many of these factors can be objectively defined for everyone; at least one of these factors, perhaps the most important, your artistic vision, can only be decided individually.
So, if sharpening is a complex subject, how do you simplify your sharpening workflow to one that’s practical without compromising quality?
Bruce Fraser and Jeff Schewe offer the best advice in their definitive volume on sharpening, Real World Image Sharpening, which I highly recommend you read. Instead of sharpening your images for you, they teach you how to sharpen.
Their philosophy of sharpening is the soundest in the industry, which is why it has been adopted by so many in the industry. They recommend that images be sharpened in a progression of three stages; once for capture sharpening, a second time for creative sharpening, and a third and final time for output sharpening. The objectives and methods of each of these stages vary considerably. When mastered, the whole process can be streamlined to achieve sophisticated results with a minimum investment of time.
Here's a quick synopsis ...


