The Big Overview – The Key Reasons Why Your Tools Matter When Printing

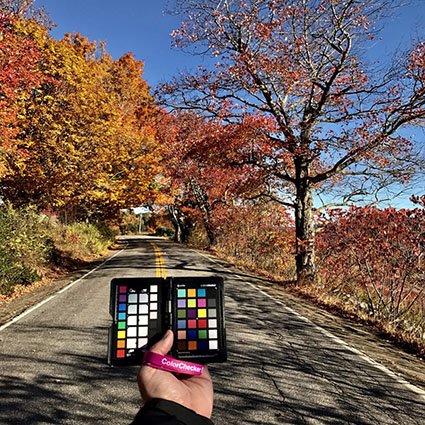
Prints are produced by not one but many things – a system.  You can make better prints if you understand how each of the tools you use to make them influences quality. In addition, you’ll be able to identify and come up with solutions for problems you run into, now or in the future.

I’ve written whole articles on each one of these components (Follow this article with the individual ones you’d like more clarity on.), nevertheless, rather than having to piece all of that information together, I find it’s also useful to have a broad overview of how the whole system works.

Here’s a quick survey of why each element of a printing system matters.


Camera                        resolution – dynamic range – bit depth

Lens                              sharpness – low distortion – few artifacts

Editing Space             saturation

Bit Depth                     gradation

Software                      color – detail – composition

Monitor                        accurate preview – saturation – brightness of white

Printer                          ink – size

Ink                                 black – saturation – longevity

Paper                            whites – materials

Printer Profile           accurate color – graybalance

Light                              how well you can see


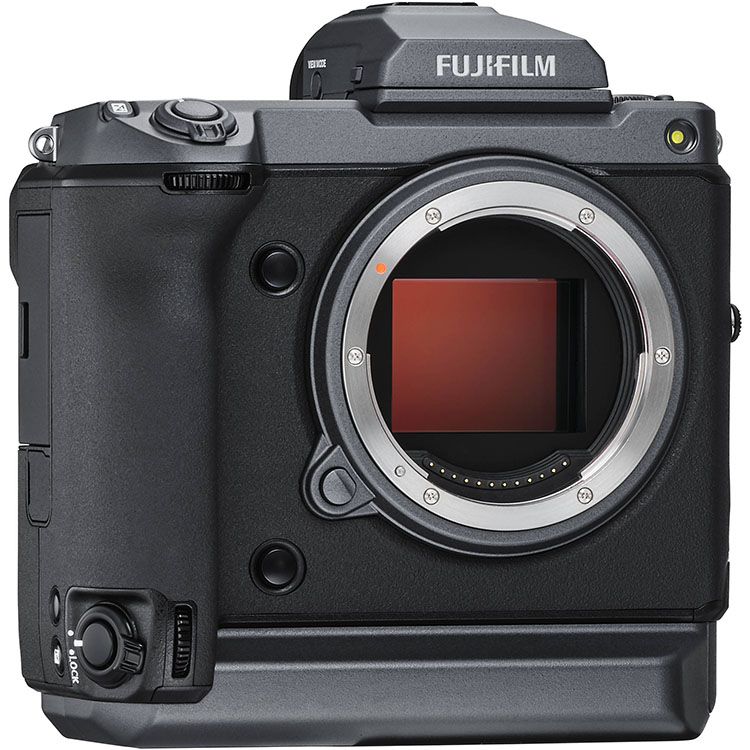
I’m currently testing the Fuji GFX 100

100 mp / 14 bit / ISO 12,800 expandable to 102,400

Camera

resolution – dynamic range – bit depth

A camera’s chip determines how much detail it can render with three primary characteristics – resolution (sharpness), dynamic range (shadows and highlights), and bit depth (gradation). More is better. It’s easier to throw away what you don’t need than create it.

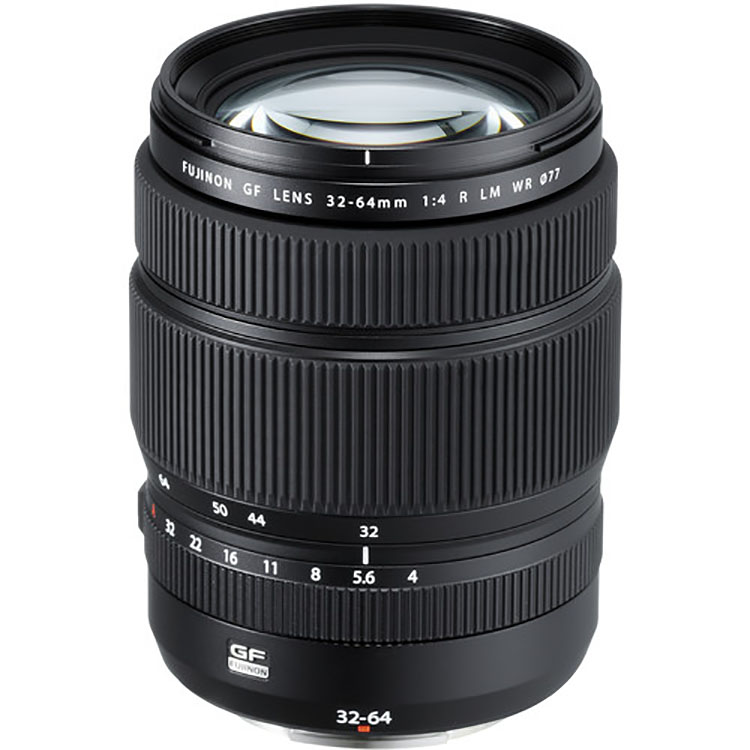
Among several lenses, I favor the Fuji 32-64mm

Lens

sharpness – low distortion – few artifacts

Good lenses are sharper, better lenses maintain that sharpness edge to edge, while the best lenses also produce beautiful bokeh (depth of field blur). Good lenses are also free of distortion and artifacts like chromatic aberration. Fixing these things in post-production can sometimes be arduous and at a certain point impossible.

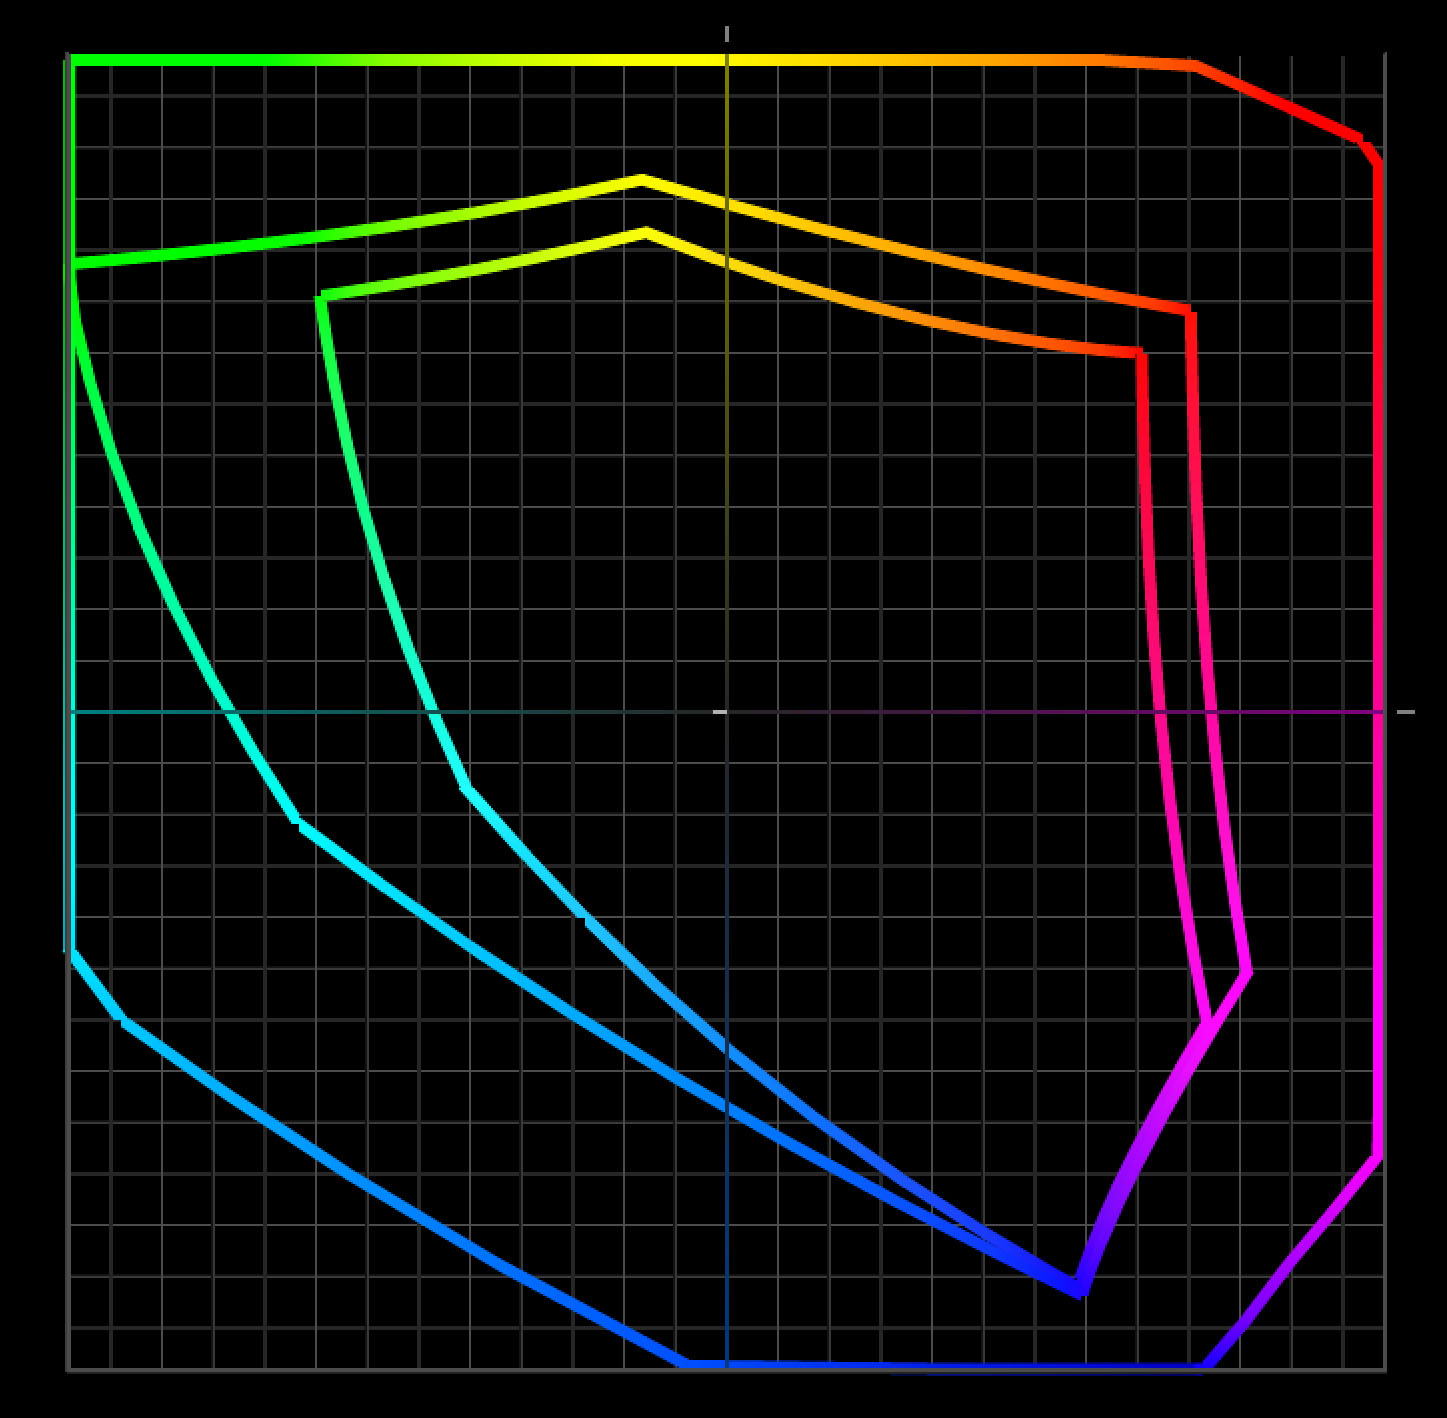
Prophoto is bigger than Adobe RGB and sRGB

I edit in ProPhoto RGB

Editing Space

saturation

Pro-Photo RGB can hold all of the saturation your camera can capture while other standard editing spaces cannot. If you use one of the smaller spaces (like Adobe RGB or sRGB) you may lose and not be able to produce that saturation.
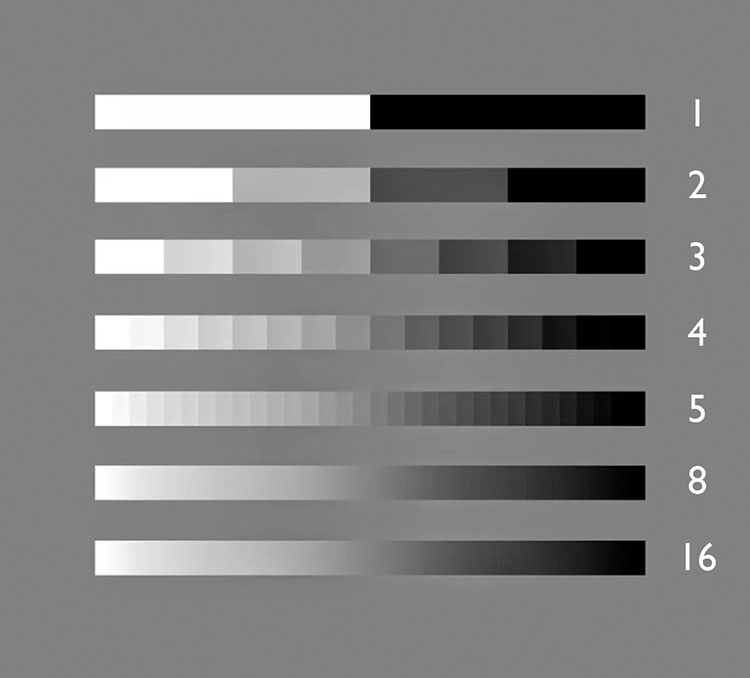
Read more here.

I edit in 16-bit

Bit Depth

gradation

16 bit’s thousands of shades of gray don’t give you more separation in prints. Printers can take 16-bit data but they can only print 256 shades of gray. Editing in16-bit eliminates the possibility of producing posterization (which can produce harsh graphic transitions and/or noise).

Read more here.

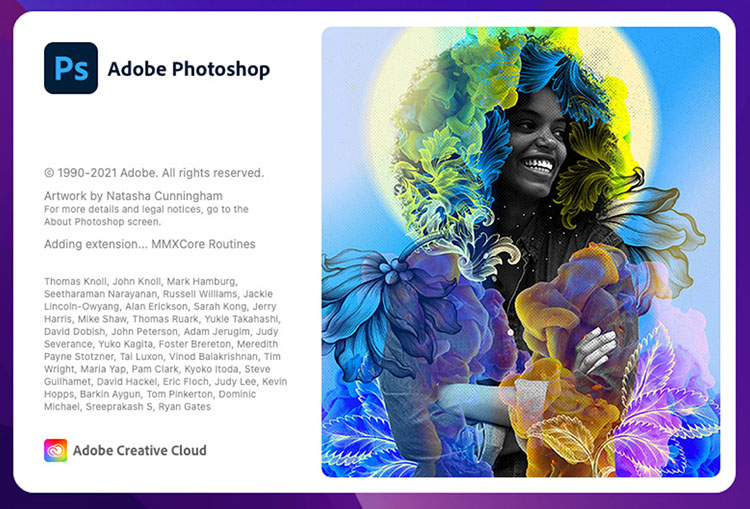
I use Adobe Lightroom Classic and Photoshop together.

Software

color – detail – composition

You can pretty much change anything about the way your images look … for better or worse.

Good software lets you be more precise and go further. Better software does it more easily without cutting corners.

For traditionalists, it’s shadow and highlight detail, midtone contrast, color clarity, sharpness and reduced noise.

For non-traditionalists, it’s the ability to produce unique color palettes, special effects, and composites.

Read more on color here.

Read more on detail here.

Read more on composition here.
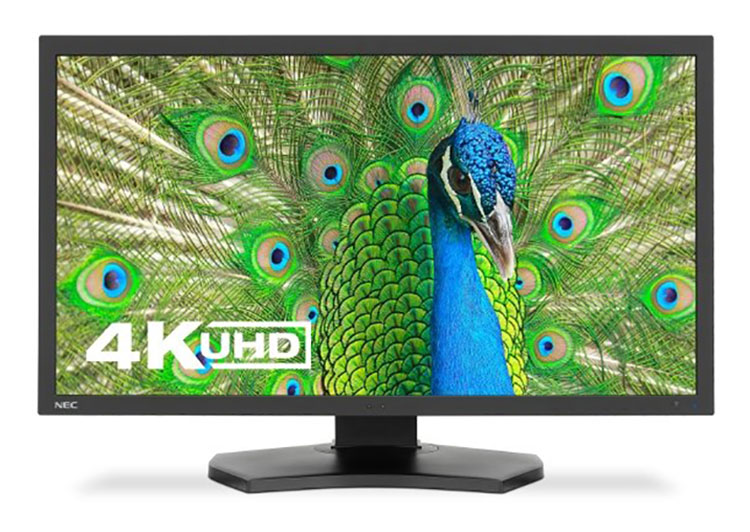
I use an NEC PA311D

Monitor

accurate preview – saturation – brightness of white

What could be more important than seeing your images accurately while you’re editing them? Good monitors can be calibrated to a device neutral standard that shows you what your images truly look like now and in the future (when you replace your current monitor). 

Better monitors render more saturation. (Currently, the best monitors can show you almost all of the values in Adobe RGB.) 

The best monitors can be tuned to show you the white of your print more accurately.

Read more here.

I use Epson’s P900 and 9000

Printer

ink – size

A printers manufacturer determines which ink set you’ll use. 

A printer’s series determines which of the manufacturer’s inkset you’ll use.

A printer’s model determines how big you can print.

Additionally, a printer’s head also impacts speed.


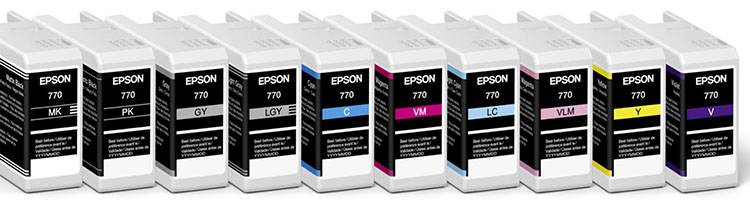
I use Epson’s Ultrachrome HDX ink

Ink

black – saturation – longevity

The ink you use has a huge impact on print quality and longevity … but to see what it can do you need paper.

Read more here.

Ink & Paper

black – saturation – longevity

Together, ink and paper determine … 

Black

The black of the ink and the white of the paper set the limits of a print’s contrast ratio. 

No matter how much ink you put down on some substrates you won’t get a blacker black and each substrate has an ink limit, which is the maximum amount of ink that can be put down before detail starts being lost.

Saturation

Good inks and paper coatings produce more saturation in all colors.

Longevity & Durability

Some are more archival than others. (Visit Wilhelm Research for reliable data.)

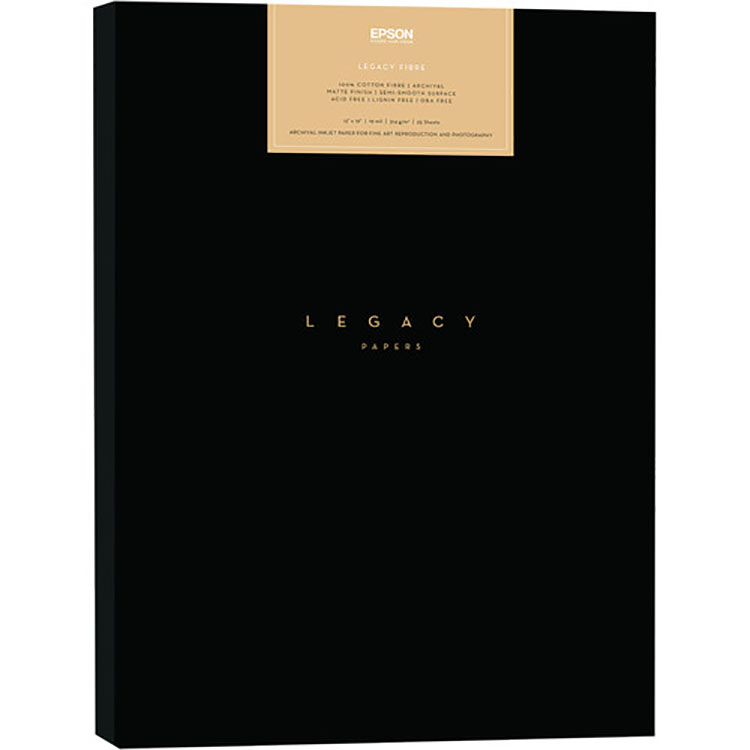
I use Epson’s Legacy Fibre and Legacy Platine papers

Paper or Substrate

whites – materials

Substrates determine an image’s white (where the ink doesn’t go) and so contrast ratio. A brighter, bluer white is more versatile, but may or may not be as archival.

Only paper (or substrate if it’s canvas, plastic, metal, wood, etc) can give your images a look and feel. It’s first and foremost about the physical characteristics of materials including things like reflectivity and texture.

Read more here.

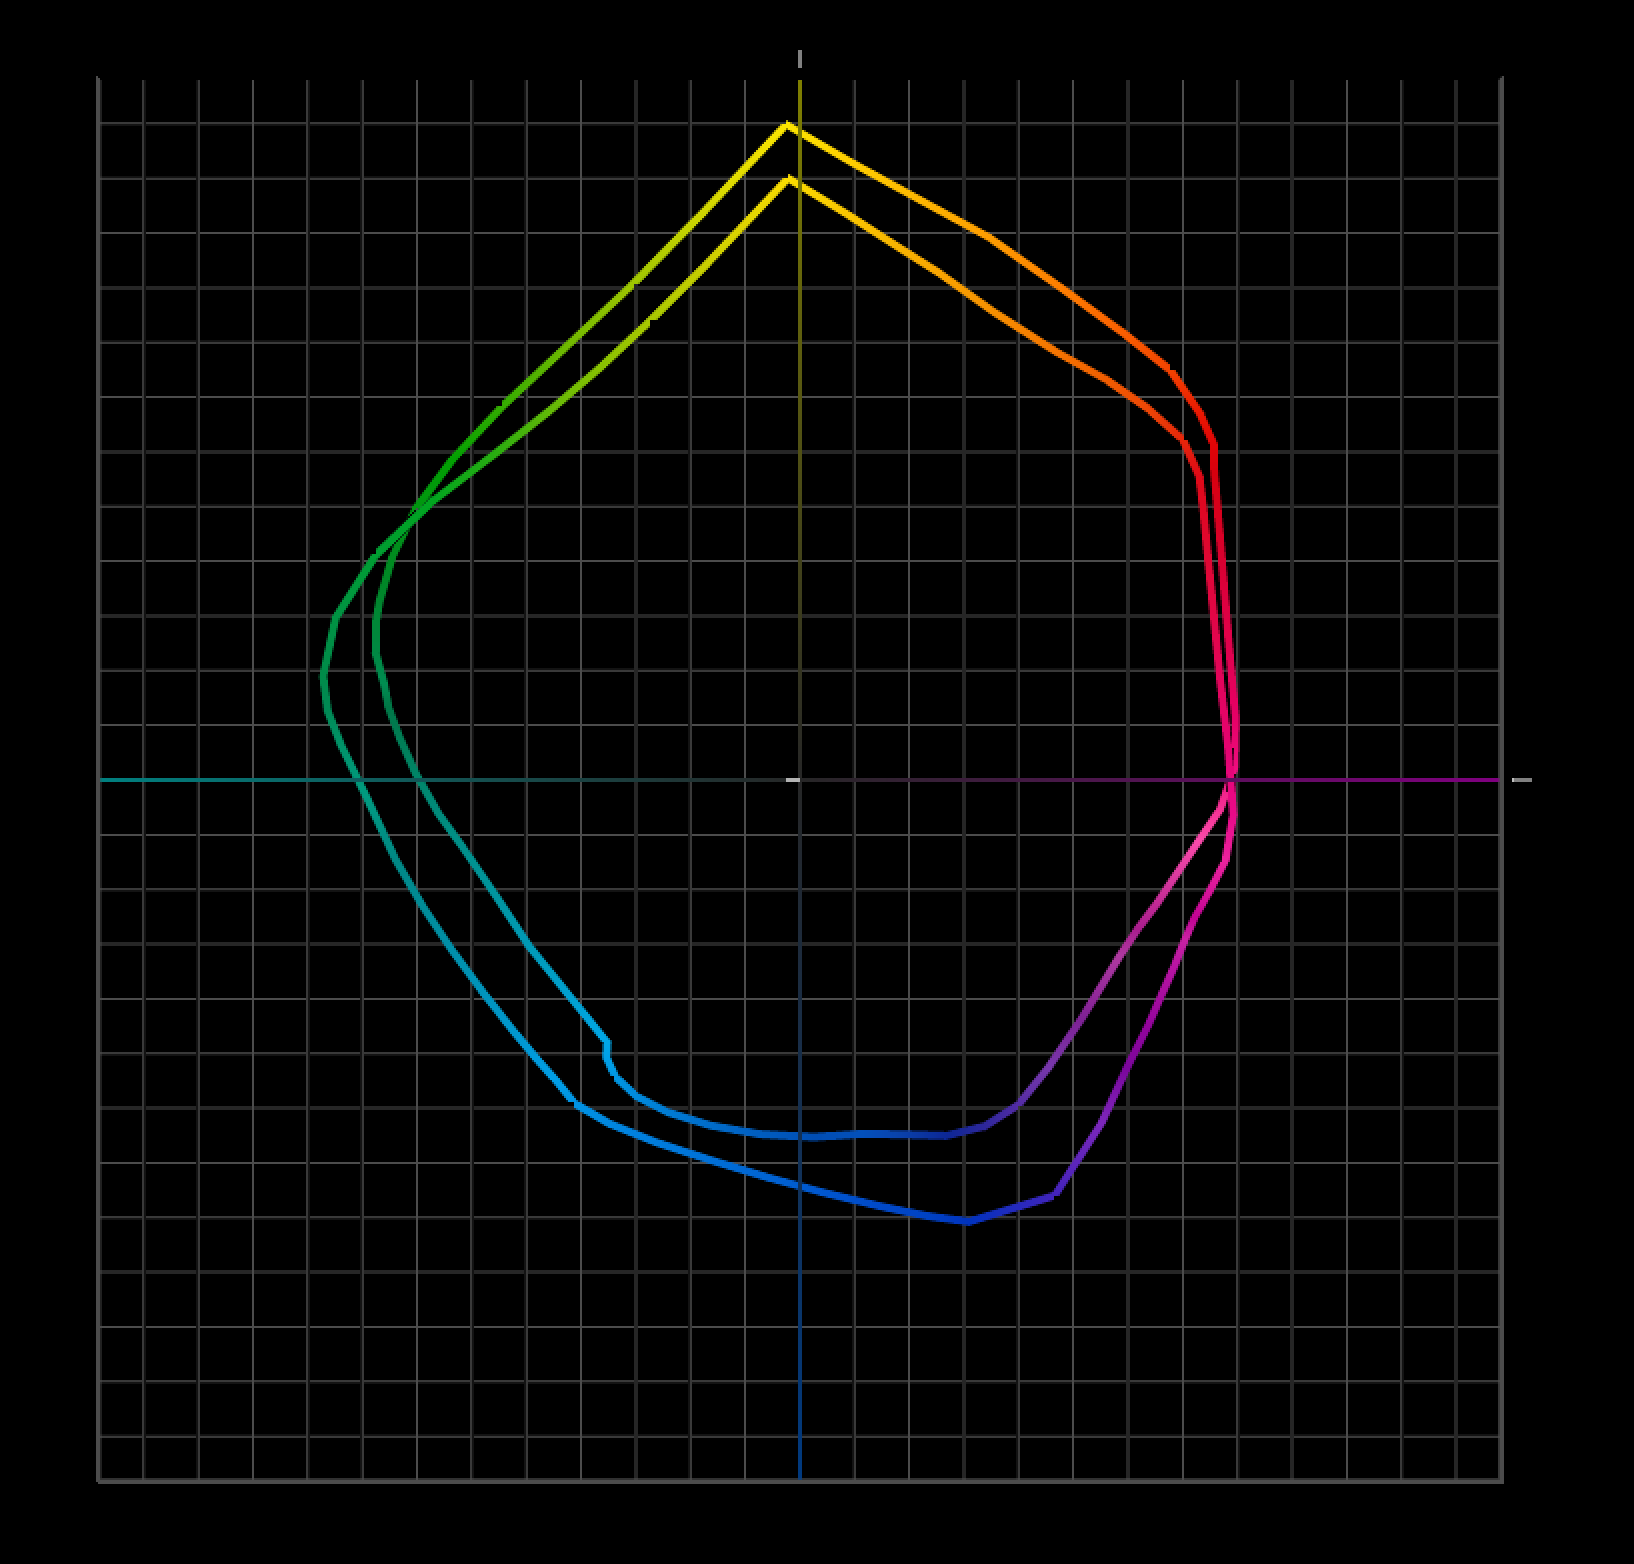
Photo papers have greater gamuts than matte because of their blacker blacks.

I use Epson’s profiles

Printer Profile

accurate color – graybalance – gradation – shadow and highlight detail

A good profile can be more than getting a good match with your screen. But it can be more. Poor profiles can cause color shifts, reduce saturation, produce posterization, and even lose shadow and highlight detail.

If you’re using Epson profiles for Epson papers, you’re in good shape. Epson makes great profiles for their papers. But if you’re using a third-party or hand-made substrate you need a good profile. Don’t assume that the profiles you download from websites are good. Test them. If they’re not great, get a professional to build one for you. Or, build your own.

Read more here.

I use Solux 3500K lights

Light

how well you can see good results

Event the best print can’t be seen in the dark. To be seen well, good prints need good light. 

Think about three things …

1 Use a generous amount of light. Not so much light that it creates eye strain but use a lot. Good prints glow when they reflect light but they need enough light to create that glow.

2 Use the right color temperature. If you can’t control the light people view your prints in, assume it’s warmer than 5000K (most people prefer warmer light, like 3500K) and make your prints look good in a similar light.

3 If you really want to dial in the color for your exhibits (or your clients) recommend a full spectrum light source (like Solux) that doesn’t make one color look more saturated than another and so preserves the color relationships you produced in your prints.

Read more here.

It takes some initial research and testing to find the tools that are best for you but once you settle on a system of your own you only occasionally have to repeat this and only for specific components. It gets easier because you have a baseline. All you have to do is ask how much better can the new gear do and is it worth the cost and effort?

Meanwhile, if you run into issues (like my blacks aren’t black enough or my colors aren’t saturated enough or I’m losing detail) you’ll know which pieces of your system to tweak to get better results.


Read more on Color Management here.

Read more on digital Printing here.

Learn more in my digital photography and digital printing workshops.

Borrow Lenses – Or Any Other Photographic Equipment Of Your Dreams


You can get discounts on rentals if you’re a member of my workshop alumni or my enews Insights.
Check the last issue of Insights or email info@johnpaulcaponigro.com.
I’m impressed! Short of winning the lottery and owning any and every piece of equipment you want, BorrowLenses is a dream come true. Reading online reviews can only go so far. There’s nothing like actually using the equipment. BorrowLenses lets you use the equipment of your dreams, in great condition, with lightning fast delivery and first-rate customer service. BorrowLenses helps me make more informed equipment purchases; I buy the equipment I buy with more confidence – after I’ve tested it. BorrowLenses has saved me money by helping me decide not to make certain purchases.
How does BorrowLenses work?
Shop for Photography & Videography Gear

  • Browse the largest online selection of photo and video gear
    available for rent on BorrowLenses.com.
  • Choose your rental duration, whether or not you want insurance.

Have It Shipped or Pick It Up

  • Choose when you need your order and whether
    you want it shipped to your home or any UPS store or picked-up locally at one of dozens of locations across the US.

Shoot to Your Heart’s Content

  • Your order will arrive on the day you specify.

 Send It Back

  • Use the prepaid  shipping label and the box your order came in to ship
    it back or drop it off locally.

It’s fast and easy!
Rent a lot? Become a BorrowLenses member.
You can also purchase used equipment at a discount.
Find out more about how to BorrowLenses here.
Browse BorrowLenses’ inventory here.

The Art of Packing

ArtOfTravel
There’s an art to packing. Practice it with care. You’ll get better every time you do it. Learning this art will help you make the most of any photographic expedition and enjoy it more.
Do pack the essentials. Don’t pack too much. Traveling with too much is hard to handle, tiring, and can be costly. Less is more – up to a point.
Clothing
It’s tempting to bring too much clothing. Bring only versatile essentials. Find light, washable, quick-drying, versatile clothing you can walk or go to a casual dinner in. Find out ahead of time what kinds of laundry services will be available during your trip and plan to use them – frequently. Bring a good pair of light waterproof hiking boots. Dress shoes don’t work when you’re walking in the wilderness. Bring sun protection; sunscreen, hat, and sunglasses. Unless you’re traveling in a desert, bring waterproof rain shells (jacket and pants). If you’re likely to be in cold situations (early mornings or snow), bring light gloves, hat, long underwear, and a warm light sweater or pullover. If you’re going to be in an arctic or alpine environment bring two pairs; staying dry is key. Leave the big ski parkas and pants home. Layers rule.
Bags
The right bags can make journeys easier. Wheels save you an enormous amount of wear and tear. Make sure your camera and/or computer bag fits under an airplane seat or in overhead compartments. (I use LowePro MiniTrekker and Roadrunner bags.) If you’re flying on small airplanes to more remote regions, check weight limits and take them seriously. Check your clothes; carry your gear. Avoid checking your gear; it can get damaged or stolen. If you’re ever forced to check your gear, carry on one camera and lens around your neck. I travel with one larger camera bag and one small backpack. I carry on the camera bag and pack the backpack in my checked baggage. Once I’m in the field, I walk with my small backpack carrying only the things I need for that location – camera, cards, extra battery, two lenses, water, power bar. (I always pack power bars, for morning when breakfast is light or late or mid afternoon when my fuel reserves can get low.) I also pack an extra duffle bag, just in case I need to check an extra bag – it comes in handy for laundry too.
Cameras and Lenses
Always carry a backup camera. If one is damaged or stolen, you’ll still be able to shoot with the other. It’s convenient (but not necessary) if the two cameras you carry are the same. That way you’ll only need to carry one set of accessories, like batteries, chargers, cords, etc.
Your choice of lenses is important. Lenses help you make the most of many situations. I travel with lenses for three ranges – wide, medium, and long. I rarely walk with all three lenses. To decide which lenses to take, I first look at the location and decide whether I’m most likely to work wide (close environments) or long (wide open spaces), take the appropriate lens, and a medium lens for versatility. All of my lenses are zooms, providing extra versatility. (Canon 16-35mm, 28-135mm, and 100-400mm) Lens shades are important. Polarizing filters are the most useful filters.
Dust and Moisture
Protecting your equipment from moisture and dust is a significant concern. I pack all of my lenses and cameras in sealable plastic bags. (I use Ziplocs.) I store them in them, whenever I’m not using them. I never put my gear away wet. Pack a small cloth to wipe down equipment that does get damp. If you’re likely to shoot in rain or snow consider using a rain cover for your camera. (I use  Aquatech’s.) Bring a sensor cleaning system. (I use Visible Dust products.) Dust happens. It’s a lot more efficient to remove it in the field than in post-processing.
Storage
Having the right media to store your images is important. It’s worth investing in a few large media cards so you don’t run out of storage to shoot with in the field. (I use SanDisk 32GB CF cards). At the end of each day, I download onto one portable hard drive and backup to a second.. (I use LaCie 1TB Rugged drives.) When I fly, I pack one in my suitcase and carry one with me at all times. You might also consider carrying a large capacity thumb (32GB plus) drive with you at all times. Put your 5 star images on it. What if your hard drives were lost or stolen? You can replace equipment, but you’ll never be able to replace your images.
Customs
Getting all your gear through security and customs is rarely a problem. That said, in any security situation where my equipment is being screened I take as many precautions as practical to ensure equipment doesn’t fall out of a bag or bin and isn’t dropped when it’s handled. Clearing customs can be more problematic in some countries than others. Do a little research on the web and determine if a carnet (an official government document proving ownership) is recommended. Even if it’s not, I always travel with a copy of my insurance policy that lists my equipment and the serial numbers of each piece.
Before you travel, take the time to get organized and be prepared. You’ll make better photographs and enjoy traveling more too.
Learn more in my digital photography workshops.
View my webinar The Art Of Travel here.

View my Equipment Packing List here.

View my Clothes Packing List here.

Find out about the tools I use here.
Gear_Guide_425

Packing List – Equipment

ArtOfTravel
I  store this packing list in my bag to make packing efficient. I modify it if a trip has special considerations. Please feel free to copy this list and modify it for your unique needs or to share this link with your friends.
Camera Bag
Store cameras and lenses in plastic bags …
2 Cameras – Canon 5DSR
2 Camera – Battery Charger With Extra Battery
1 Universal Power Strip
1 Universal Electrical Adaptor
1 Lens – 11-24mm
1 Lens – 24-170mm
1 Lens – 70-200mm
1 2X Extender
1 Camera Rain Cover
4 Memory – CF Cards
4 Memory – SD Cards
1 Sensor Cleaner Dry Brush
2 Sensor Cleaner Wet Swab
1 Lens Cloth
1 Tripod and Tripod Head (store with clothing)
1 Gorillapod
1 iPhone Tripod Adaptor
 
Computer Bag
Store hard drives and pens in plastic bags …
1 Computer – Mac Book Pro
1 Computer – Mac Book Pro – Power Supply With Adaptors
1 Harddrive – Bootable Copy of Portable Computer
2 Harddrives – Raw Files and Raw Files Backup
1 Card Reader and Cable
1 Microphone and adaptor
1 iPad Power Supply and Cord
1 iPad to VGA Adaptor
1 Miniport to VGA Adaptor
1 iPad and Cable
1 Earbuds
1 Apple Pencil
1 Mechanical Pencil
3 Pens Varying Thickness
1 Pack of Paper (emergency contact info, copy of insurance, copy of passport, notes, blank)
1 Screencleaner
1 Hand Sanitizer
1 Eyedrops
1 Benadryl
1 Powerbar
 
If International Add
1 Passport
1 Carnet (or paper of insurance policy above)
1 Global Entry
Learn more in my digital photography workshops.
View my webinar The Art Of Travel here.

View my Equipment Packing List here.

View my Clothes Packing List here.

Find out about the tools I use here.
Gear_Guide_425

My Packing List – Clothes

ArtOfTravel
I  store this packing list in my bag to make packing efficient. I modify it if a trip has special considerations. Please feel free to copy this list and modify it for your unique needs or to share this link with your friends.
Wear
1 Wallet
1 Notecards
1 Pen
1 Business Cards
1 Watch
1 iPhone
Select these from below lists …
1 Shell
1 Soft Shell Jacket
1 Shirt
1 Belt
1 Pants
1 Underpants
1 Socks
1 Boots
1 Sunglasses
 
Field Work
Consider increasing numbers only if no laundry …
1 Duffle Bag Waterproof
1 Shell Jacket Waterproof
1 Shell Pants Waterproof
1 Soft Shell Jacket Water Resistant
1 Light Gloves
1 Ear muffs
1 Gators
1 Baseball Cap
3 Socks Quick Dry
3 Underpants Quick Dry
2 Shirts Short Sleeve Quick Dry
2 Shirts Long Sleeve Quick Dry
2 Pants (Zip To Shorts) Quick Dry
1 Belt
1 Light Hiking Boots Waterproof
1 Light Sport Shoes
1 Pajamas Silk
 
If Cold Add
3 Socks Wool
1 Long Under Wear Thin Silk
1 Long Under Wear Mid Synthetic
1 Cold Weather Hat
1 Heavy Waterproof Gloves
 
If Business Add
1 Leather Jacket
1 Dress shirt
1 Jeans
1 Dress Boots (optional)
 
Optional
1 Sweatpants
1 Bathing Suit
 
Toilette
1 Toothbrush
1 Toothpaste
1 Mouthwash
1 Deodorant
1 Cologne
1 Shampoo/Conditioner
1 Hairbrush
1 Hairspray
3 Hairbands
1 Nail Clipper
1 Sunscreen
1 Aleve
1 Pepcid
1 Imodium
1 Drixoral
1 Scopalamine (If seasickness)
Powerbars 1 per day
Learn more in my digital photography workshops.
View my webinar The Art Of Travel here.

View my Equipment Packing List here.

View my Clothes Packing List here.

Find out about the tools I use here.
Gear_Guide_425