A Quick Cure For Dehaze Color Shifts With Photoshop

Without Dehaze
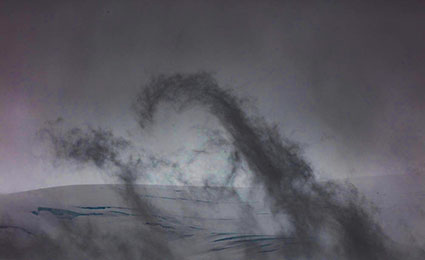
Dehaze may create color artifacts
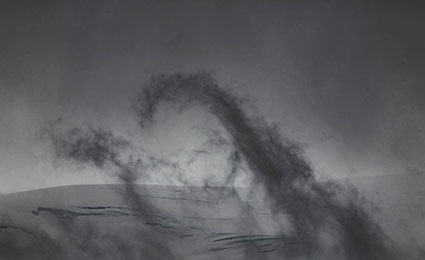
Color artifacts removed
Color without Dehaze blended with luminosity with Dehaze
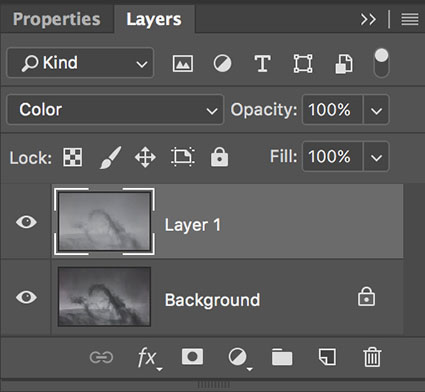
The top layer is set to a blend mode of Color
When you’re using Lightroom or Camera Raw, you’ll quickly find the Dehaze slider can produce marvelous contrast effects. Dehaze can dramatically exceed the contrast that can be produced with either Curves or Clarity. Sometimes it will reveal detail you couldn’t see with your eyes!
.
Often, there’s a price to pay for these great effects – color shifts. Neutral areas may turn magenta. Shadows may pick up strong blue or green casts. To make matters worse, these unwanted artifacts are rarely uniform, which makes them harder to fix.
.
If you’re lucky you can compensate by reducing Saturation after using Dehaze. When you do this, it’s likely that you’ll end up choosing the least objectionable version or making a compromise you’d prefer not to. Frequently, to avoid these side effects, you’ll be tempted to not to push Dehaze as far as you’d like to.
There is a cure that will help you go as far as you’d like, without producing color shifts. Render your image twice. First, render it with as much Dehaze as you’d like. Second, render it without Dehaze.
.
Then place the version without Dehaze in a layer on top of the version with Dehaze. Change the Blend Mode of the top layer to Color. This will give you a combination of the color of the top layer (without Dehaze’s color artifacts) and the luminosity of the bottom layer (with Dehaze’s contrast).
.
How do you make two layers from one Raw file?
.
If you’re using Lightroom, make a virtual copy and then double click on the Dehaze slider. Highlight the original file and the virtual copy and select Photo > Edit In > Open as Layers in Photoshop. Now in Photoshop, make sure to change the top layer’s blend mode from Normal to Color.
.
If you’re using Camera Raw, open your Raw file as a smart object, then select New Smart Object via Copy in the Layer menu, and finally double click on the top layer to return the Dehaze slider to 0. Remember, change the top layer’s blend mode from Normal to Color.
.
The technique of using the color of one layer to overlay another layer can be used for many applications. Here, it makes Dehaze even more useful.
.
Read more color adjustment resources here.
Learn more in my digital photography and digital printing workshops.
Charles Brooks
15.02.2019 at 20:54Excellent article – solved a major timelapse problem I was having. Thanks!
John Paul Caponigro
15.02.2019 at 22:29I’m glad it helped!