Making Saturation Masks
Incubation X
6_SaturationMask
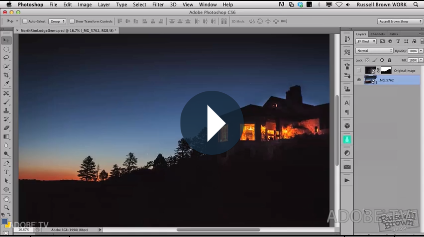
Wouldn’t it be great if you could selectively adjust colors based on how saturated they are in Photoshop? You can! How? With a free plug-in Adobe provides called Multiplugin; it hasn’t been updated since Photoshop CS5, but it still works with current versions.
Why Would You Want To Do This?
Do you have images where semi-neutrals aren’t saturated enough, but you don’t want other colors to get too saturated? Select the less saturated colors before adjusting them. Do you have images where you’d like to reduce the saturation of very saturated colors without affecting other levels of saturation? Select the more saturated colors before adjusting them. You even can select colors with medium saturation, separating them from both the high and low range of saturation. Using this technique, you can produce subtle color effects that aren’t possible with any other method.
Saturation masks aren’t for saturation adjustments only. This simple selection/mask can be used with any color adjustment tool in Photoshop, greatly expanding your ability to adjust color. Imagine adjusting the lightness and/or hue of high, medium or low ranges of saturation independently of one another.
Read more here.
Download Adobe’s free Multiplugin here. Mac or PC.
Learn more in my digital photography and digital printing workshops.

Photoshop Masking Key Commands

.
The following key commands do not require clicking on the mask.

X                                               reverses Foreground and Background colors
Numbers                               number keys change the Opacity of a brush
[ and ]                                     makes a brush smaller and  larger
Shift [ and Shift ]               makes a brush softer and  harder
Opt Delete                             fills a mask with the Foreground color
Command I                           inverts a mask

The following key commands require clicking on the mask.

Control Click                        displays mask options
Opt Click                                 displays a mask in black and white
Shift Opt Click                      displays a mask as a red overlay

Command Click                   loads the mask as a selection
Shift Command Click        adds the mask to a selection
Option Command Click    subtracts the mask from a selection
Shift Option Command     loads the intersection of two masks
Shift Command I                  inverses a selection

Drag & drop                           to move a mask from one layer to another
Option drag & drop            to copy a mask from one layer to another

Read more about Selections & Masks.
Learn more in my digital photography and digital printing workshops.

Video Quick Tip – 2 Masks For 1 Layer In Photoshop

.
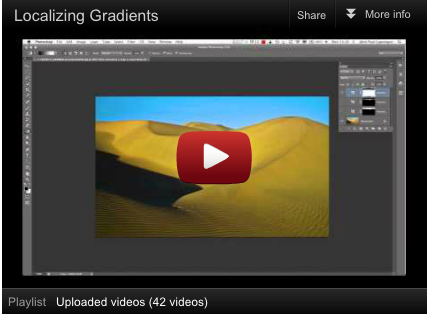
In this Photoshop Quick Tip I show how and why to make two masks for one layer.

Read more about Selections & Masks.
Learn more in my digital photography and digital printing workshops.
Target Image Contours With Edge Masks


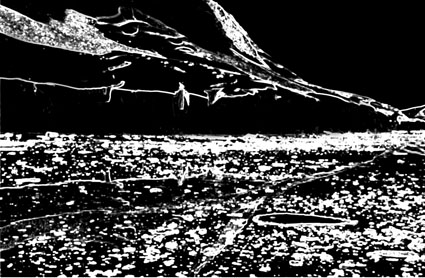
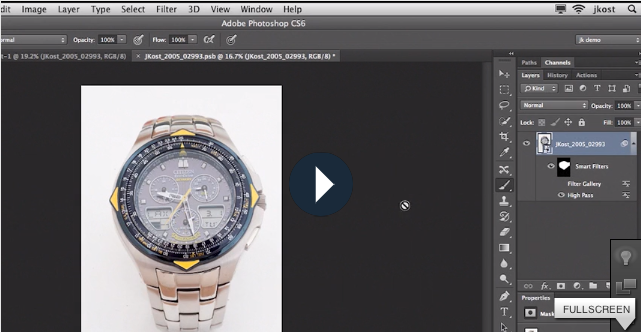
Edge masks target only the contours in an image. (Think of edge masks in Photoshop as the creative sharpening equivalent to the Masking slider in ACR or Lightroom’s capture sharpening.) They keep smooth areas smooth, while accentuating the contrast/sharpness of contours. They can be particularly useful for images that contain moderate to significant amounts of noise. In many cases, they allow the use of more aggressive applications of sharpening effects. Edge masks can help you take all of the creative sharpening effects you design up a notch – or two.


Insights Members can login to read the full article.
Email:
or Sign up