There are several ways to get more resolution out of your photographs. Remember these three words: upsample, stack and stitch. Which method you choose will depend on how you shoot a scene. Once you know these techniques, you can choose an exposure and processing method that's best for a given situation.
Upsample
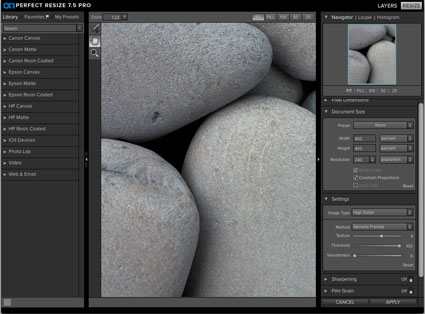
If you have only one exposure, your options are limited to upsampling or using software to create more pixels. While the information rendered by software is never as rich and sharp as information that's optically captured, it nonetheless can be both pleasing and convincing. Upsampling is the best method for images containing moving objects, as other methods require multiple exposures and may produce motion artifacts.
How far can you go? I could give you an overly simple answer: up to 300%. But the true answer is, it depends. Knowing what it depends on will help you choose a method, modify a routine and evaluate results to get optimal results for individual images. How far you can upsample an original depends on many factors found in the source, the destination and the statement you're making.