Photoshop.com – A Glimpse of the Future Now?
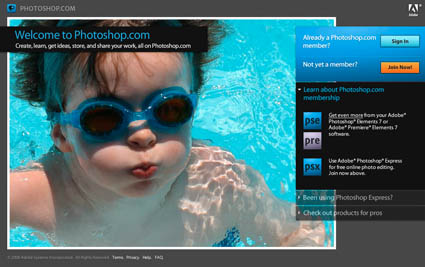
Adobe has announced Photoshop.com. What is it? Mix Photoshop Elements with social networking, online sharing (Myspace/Facebook), and online archiving with services and free tutorials to support it. Imagine Flickr with free online image editing. Then add mobile computing (on cell phones and PDAs) – Photoshop.com Mobile. It’s not a professional solution (fully featured, capable of handling high resolution – Lightroom or Photoshop) – yet.
Does this herald the future of all Photoshop products? Will we be renting rather than purchasing our software in the future? Perhaps our upgrades will be automatic and managed for us. This is speculative futurecasting. For now, find out what’s happening online with PhotoshopExpress. It’s too interesting not to check it out.
Check it out here.
Read More