How To Enhance The Illusion Of Space With Atmospheric Perspective
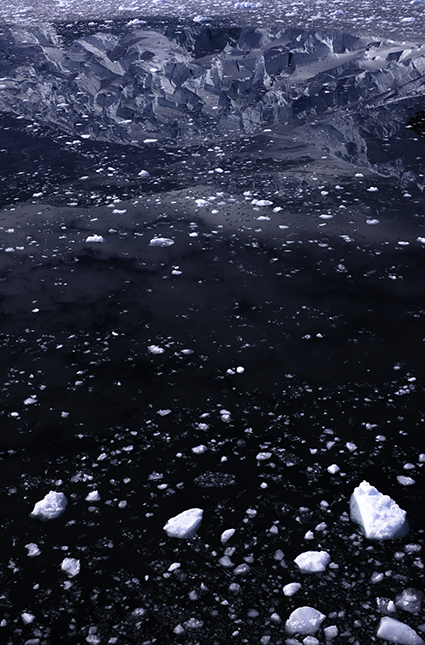
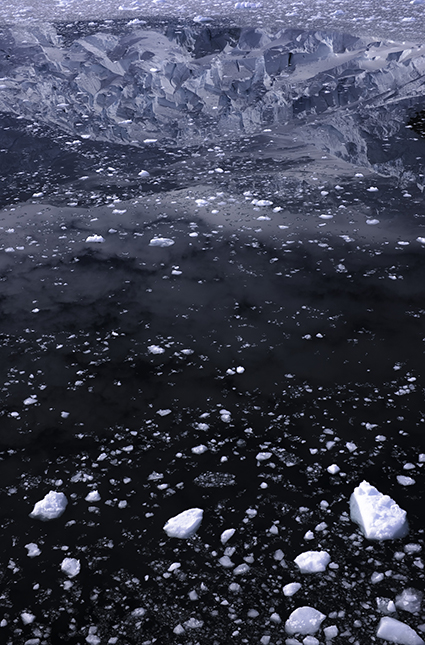
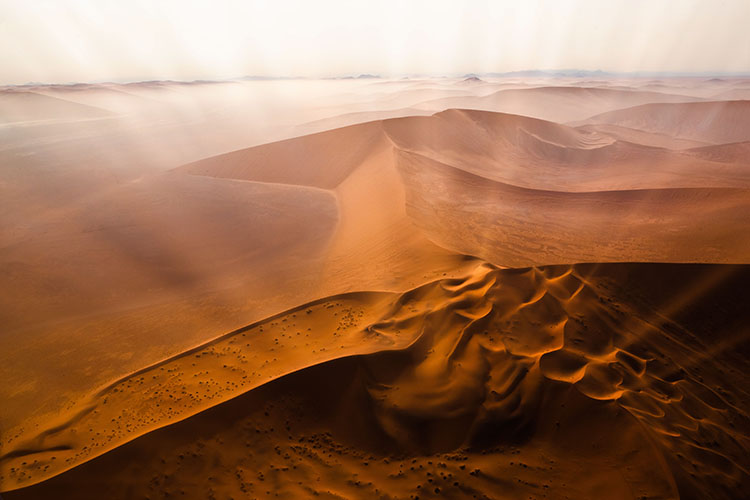
As atmosphere builds up, contrast and detail are diminished, while colors grow cooler and less saturated.
Whites are an exception; they get darker and yellower.
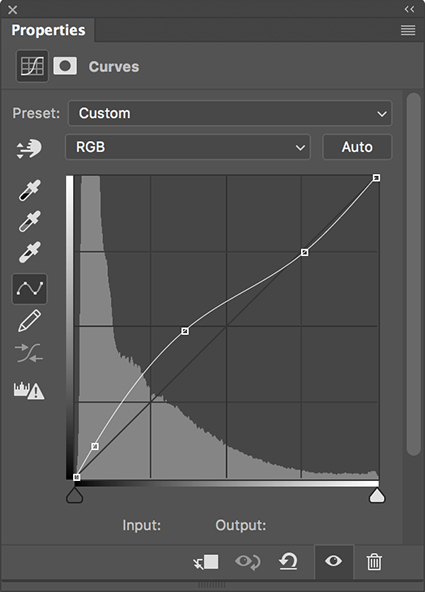
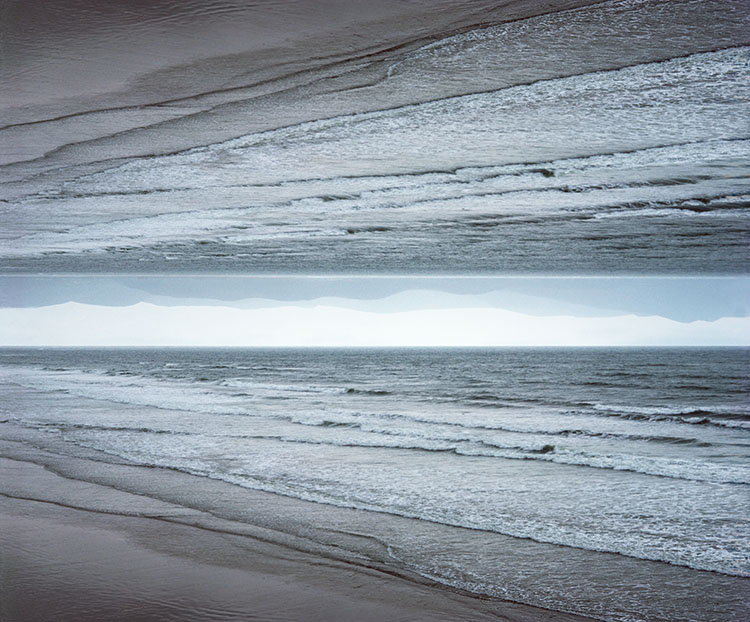
Atmospheric perspective can be applied to neutral or black-and-white images using luminosity only.
In the foreground, increase contrast. In the background lighten blacks and darken whites.
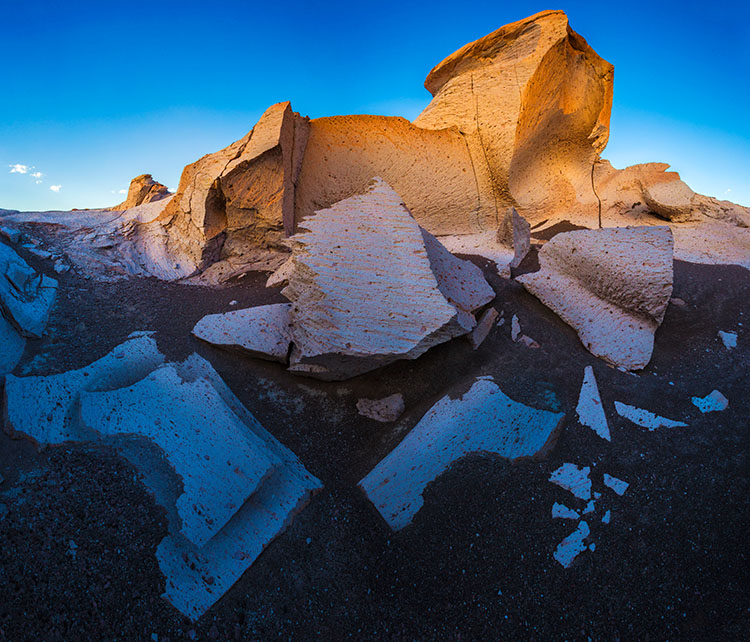
Because compositionally, skies are quickly read as separate spaces, they can generally hold more saturation and still seem far away… but don’t overdo it if you want your photographs to be believable.
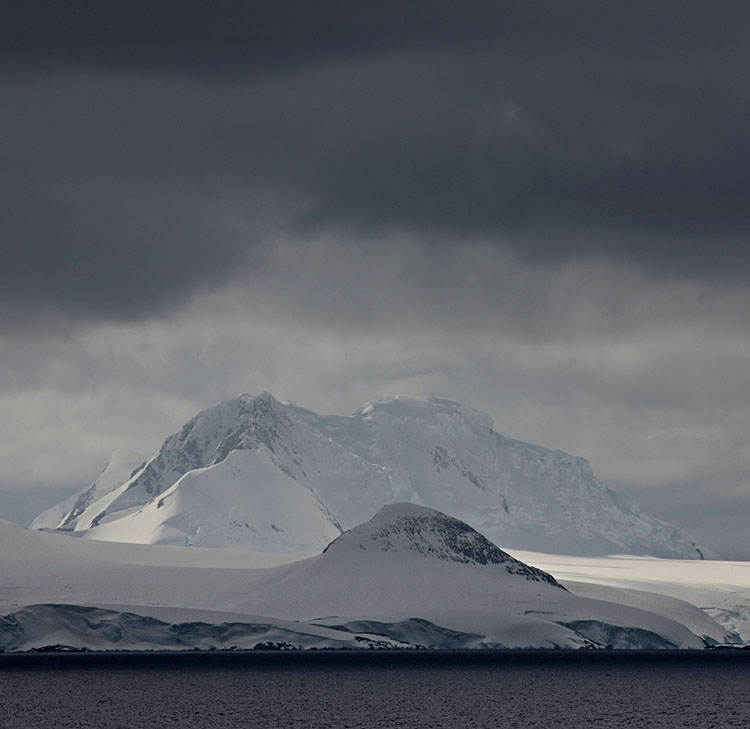
Used in Western art since the Renaissance, the principle of atmospheric perspective can be stated simply. Some colors rise forward, while others fall back. Lighter, warmer, saturated colors, with more contrast, appear closer, and darker, cooler, desaturated colors, with less contrast, appear farther away. You can use atmospheric perspective to control the illusion of three-dimensional depth in your two-dimensional images. When you do this, the scenes you present will become more believable, eye-catching, and compelling.
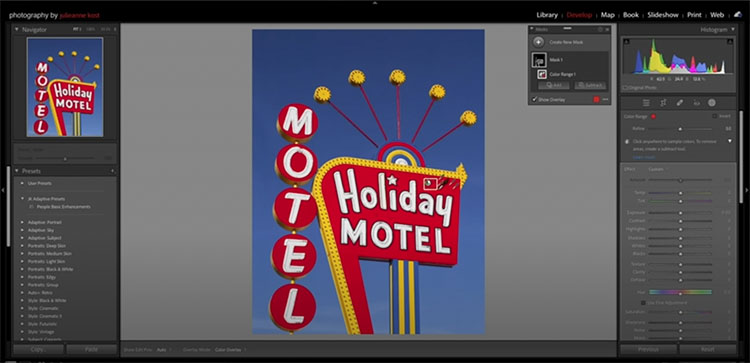
Adjust Color Selectively
The key to using atmospheric to enhance your images is to adjust color selectively.