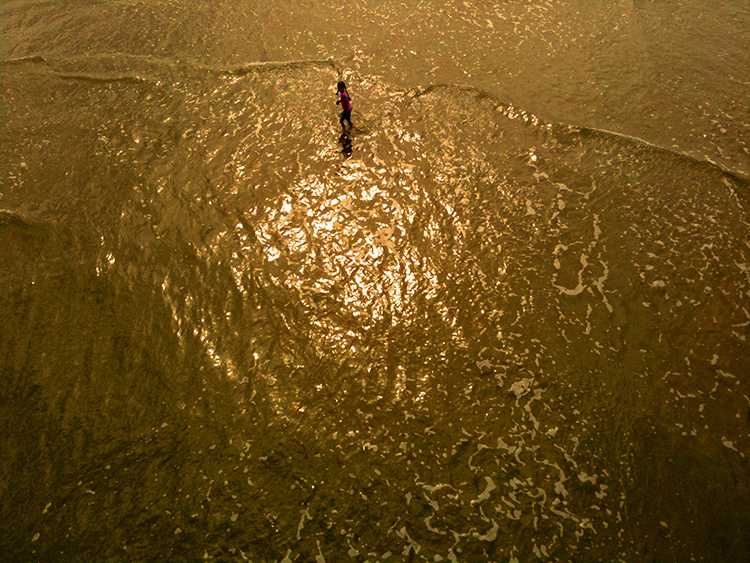
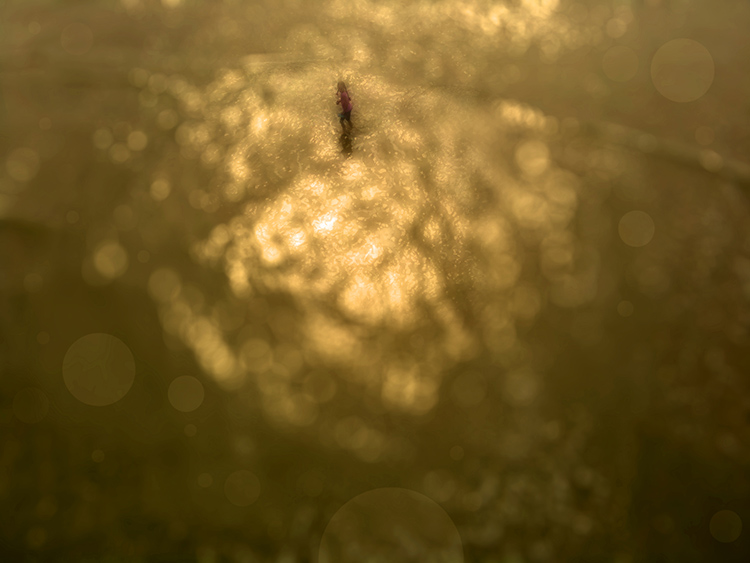
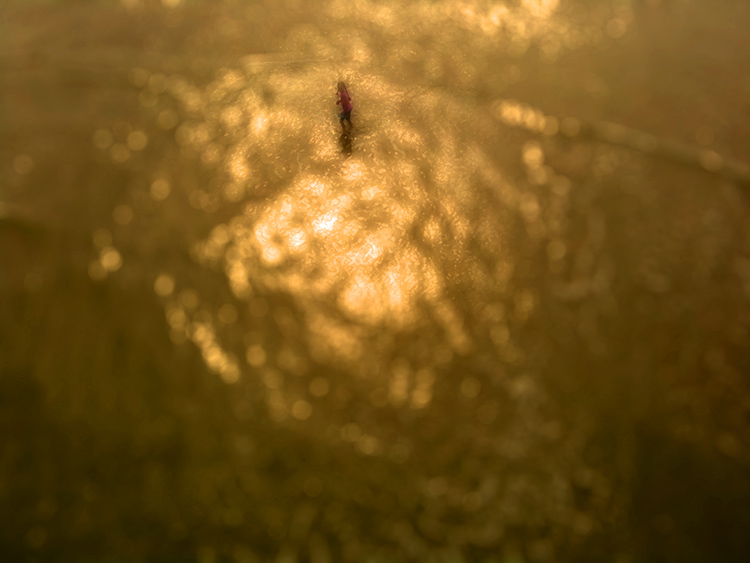
How To Combine Focussed & Defocussed Images Using Photoshop

In & Out-Of-Focus Mixed
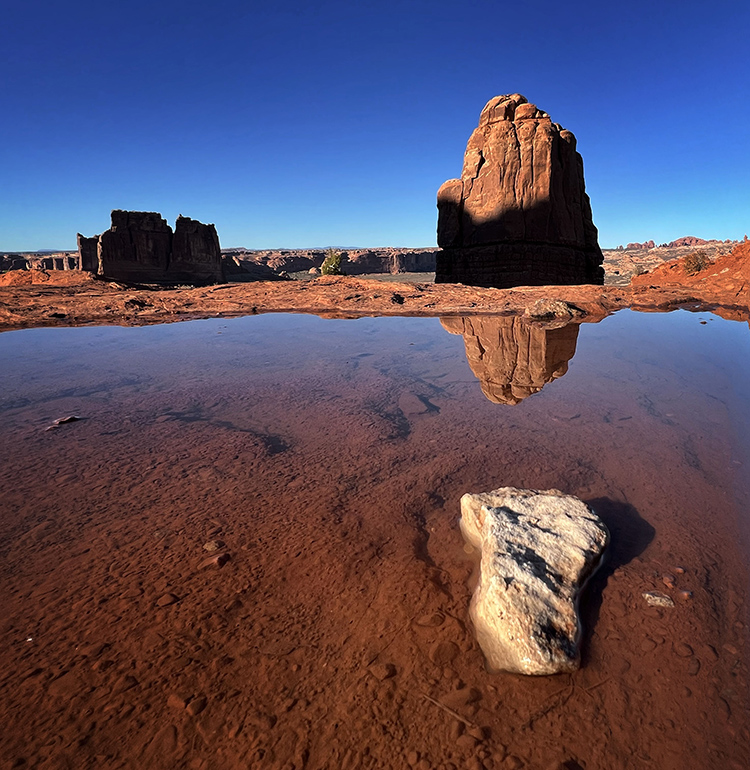
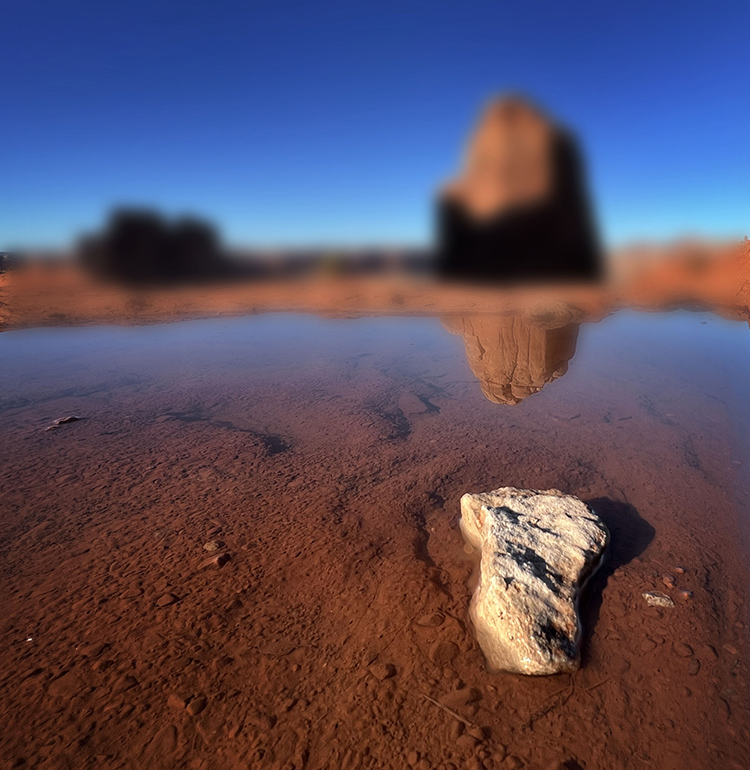
Combining in and out-of-focus images with Photoshop is a simple matter of placing tow versions of the same image on separate layers.
If you’re simulating an out-of-focus image using blur filters in Photoshop this takes one step. Use the Layers menu and select Duplicate Layer or in the Layers palette drag the layer to the Create a new layer icon ( + ). The two layers will be perfectly registered. The top layer is ready for blurring.
If you’re combing separate exposures of the same image that are in and out-of-focus add a couple more easy steps.
How To Create Sophisticated Motion Effects With Photoshop’s Path Blur
Photoshop CC’s recent addition to its Blur Gallery, Path Blur offers a creative and flexible way to add directional motion to your images in post-production. It’s astonishing! You’ve got to try it to believe it – and to truly understand it.
The Blur Gallery now has five effects (Field Blur, Iris Blur, Tilt-Shift, Path Blur, and Spin Blur) that can be controlled from a single panel. Once you’ve accessed one, you can quickly access the others at the same time enabling you to create complex blur effects in a single stop. Path Blur alone is capable of delivering lots of complex motion effects with one simple path.
Before applying Path Blur, consider using a Smart Object to make the filter non-destructive, re-editable, and maskable. (I recommend you acquire Raw files as a Smart Objects but in cases where you can’t, such as cases that involve merges or stacks or major retouching, convert your Background layer to a Smart Object – Layer: Smart Objects: Convert To Smart Object.)
To apply the filter follow this path - Filter: Blur Gallery : Path Blur. The Blur Gallery panel will appear, offering you five extraordinary sliders and multiple points of control.
How To Control Blur FX In Photoshop With Amazing Precision
Photographers use blur (or bokeh) for a variety of reasons: to enhance space through depth of field; to add interesting visual artifacts; to simplify them; to change the quality of their expression. In the past, blur was controlled almost entirely through exposure; now it can also be controlled during post-processing, giving photographers an unprecedented array of options and ways to customize the look and feel of their images. Knowing what you can do, how far you can go, and when you can do it may change the way you shoot, one time, sometimes, or all the time.
There are many blur filters in Photoshop; Field Blur, Iris Blur, Tilt-Shift, Gaussian Blur, Lens Blur, Motion Blur, Radial Blur, Shape Blur, Smart Blur, Surface Blur, in order of appearance in the Filter: Blur drop-down menu. (See A Quick Visual Comparison Of Photoshop's Blur Filters here.) The choices are extensive and it pays to familiarize yourself with your options by experimenting with them; you’ll find you have an extraordinary set of options that you can modify and combine creatively. If you only use the filters Gaussian Blur and Lens Blur, you’ll still have game-changing control at your fingertips, once you learn how to extend and modify them.
Photoshop's Lens Blur filter
There are several important non-destructive strategies you can use to gain more control over all filter effects that will enable you to go further in your explorations and generate more sophisticated and compelling results. Try one or all of the moves in this classic progression. Apply a filter to a duplicate layer and then modify its Opacity, Blend Mode, Blend If Sliders, and add a layer mask.
How To Intensify Photoshop’s Go To Filter High Pass With Curves
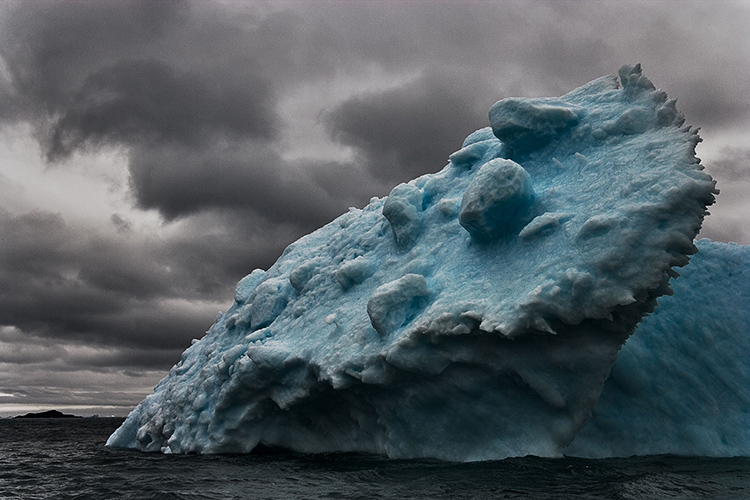
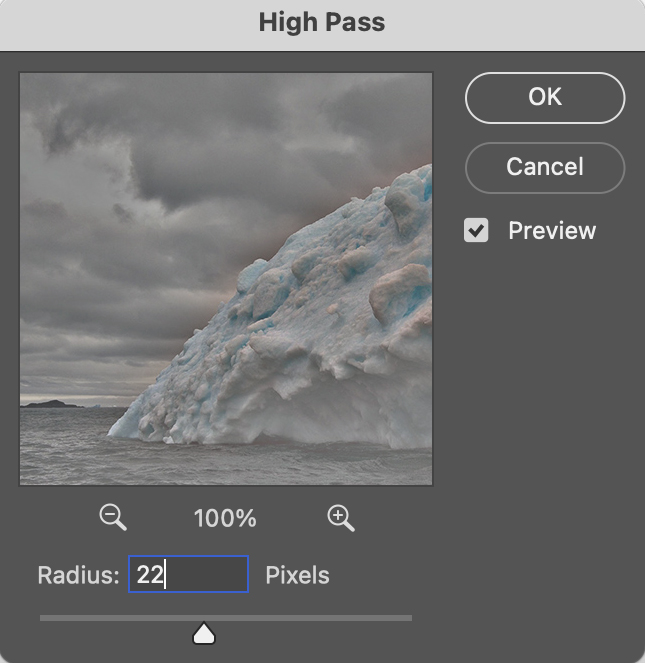
Indispensable, Photoshop’s High Pass filtration offers contrast and sharpening effects no other tool does.
(Read Curves, Clarity, Dehaze, High Pass, Texture and Sharpening Compared.)
With only one slider, High Pass filtration slip streams between sharpening or detail enhancement (at a low setting) and luminosity contrast adjustment (at a high setting). The two are intimately tied to one another; the difference is the granularity that the contrast is applied. At a low setting, High Pass filtration accentuates contrast along contours with a thin feathered line, while the flat gray areas surrounding contours on the high pass layer tend not to accentuate texture or noise. At a high setting High Pass filtration creates stronger contrast so broadly feathered that it creates a localized vignetting effect, accentuating the illusion of volume in the process.
(Read more here on How To Apply High Pass Filtration.)
The intensity of either or both of these High Pass effects can be accentuated by adding more contrast to the High Pass layer with Curves. Unlike raising the High Pass filter slider while you apply it, which increases the width of the lines on it, increasing the contrast of the layer with Curves does not; it simply makes the lines darker and the haloes brighter.
Take these steps ...
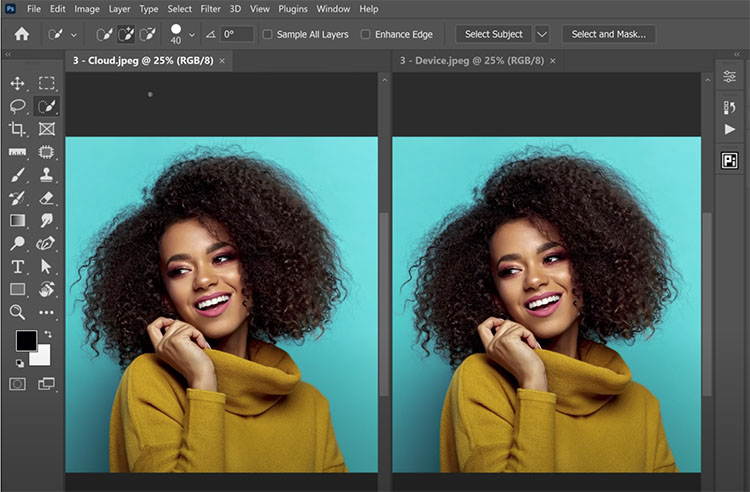
How To Make Advanced Masks in Adobe Camera RAW & Lightroom
How To Hack Photoshop’s AI To Get Astonishing Color Grading In Your Images
What’s New in Lightroom Classic 11 For Photographers – Plus More On New Easy Masking Features
.
Adobe released the October 2021 Update to Lightroom Classic. This video will walk you through what’s new.
The New Masking Tools In Lightroom & Camera Raw
“Discover how easy it is to make local adjustments to your photographs using Lightroom and Adobe Camera Raw’s new Masking panel and tools including: Select Subject, Select Sky, Radial and Linear Gradients, Brush, Color and Luminance Range Masking and more!”
View more on Julianne Kost’s blog.
Learn more in my digital photography and digital printing workshops.