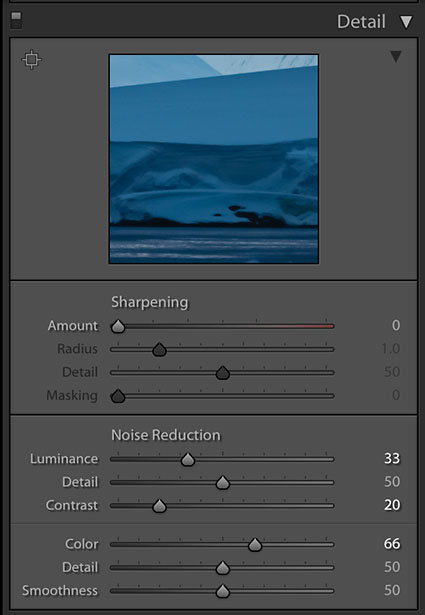
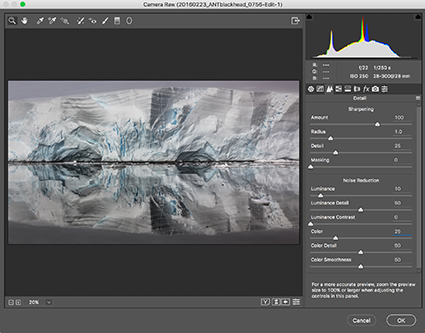
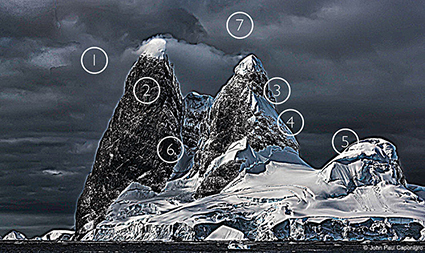
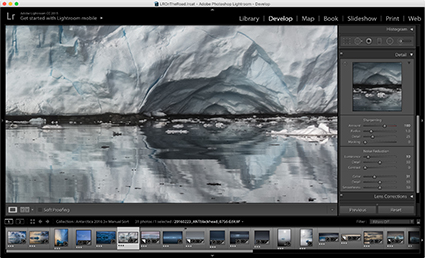
Lightroom’s Detail panel
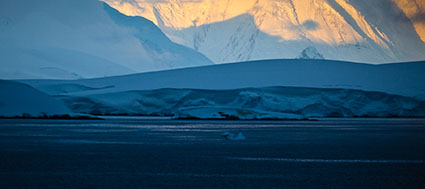
Reducing noise in Adobe Camera Raw and Lightroom (the controls and results are identical) is easy.
The Detail panel provides tools to reduce two kinds of noise – Luminance (light and dark) and Color. Results can be targeted with the Detail slider into smoother (low setting) or more textured (high setting) areas. The effects for luminance noise reduction can be further modified by adjusting the Contrast slider; a higher setting affects only high contrast noise, while a lower setting affects even closely matched values. And finally, the effects for color noise an be further modified with the Smoothness slider, a higher setting creates a more aggressive effect.
Zoom into an image at 100% magnification and move the sliders until noise is reduced, but image quality isn’t compromised. Use restraint. In a majority of situations, it’s better to preserve a little noise than to blur the image substantially.
All noise reduction blurs images. Sharpening after noise reduction during RAW conversion is recommended. Knowing that you’ll sharpen an image after noise reduction, you may reduce noise slightly more aggressively initially.
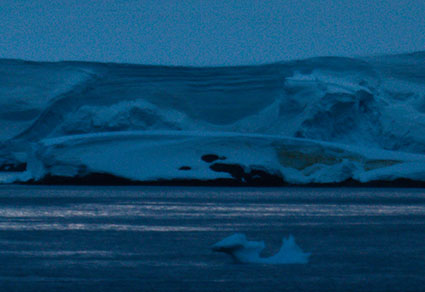
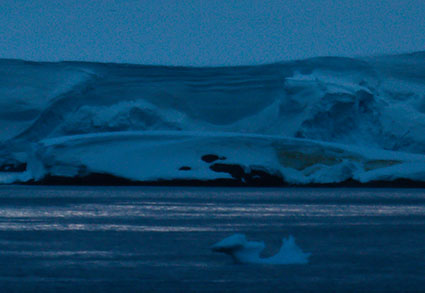
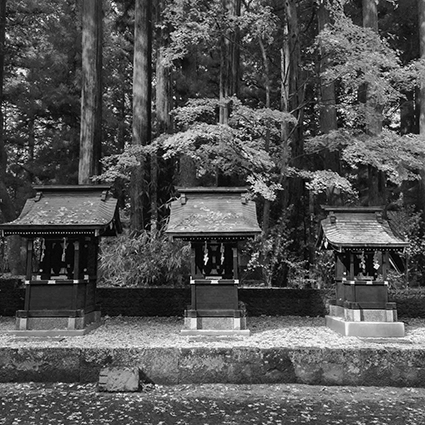
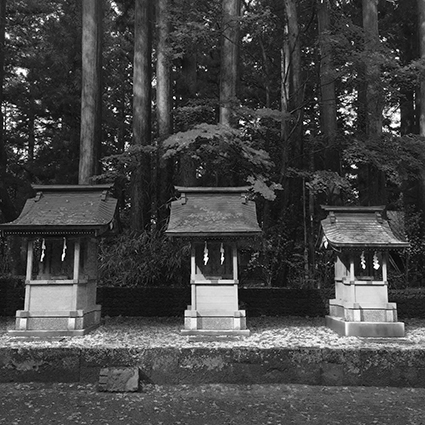
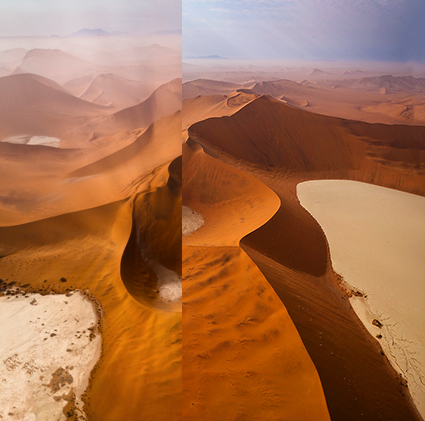
no noise reduction
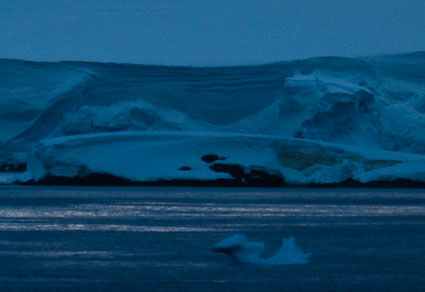
appropriate noise reduction
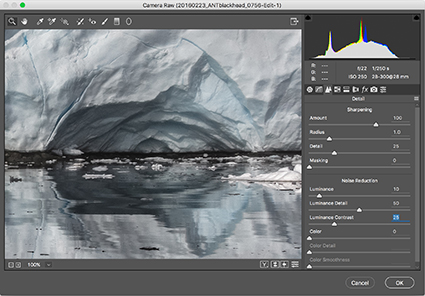
excessive noise reduction
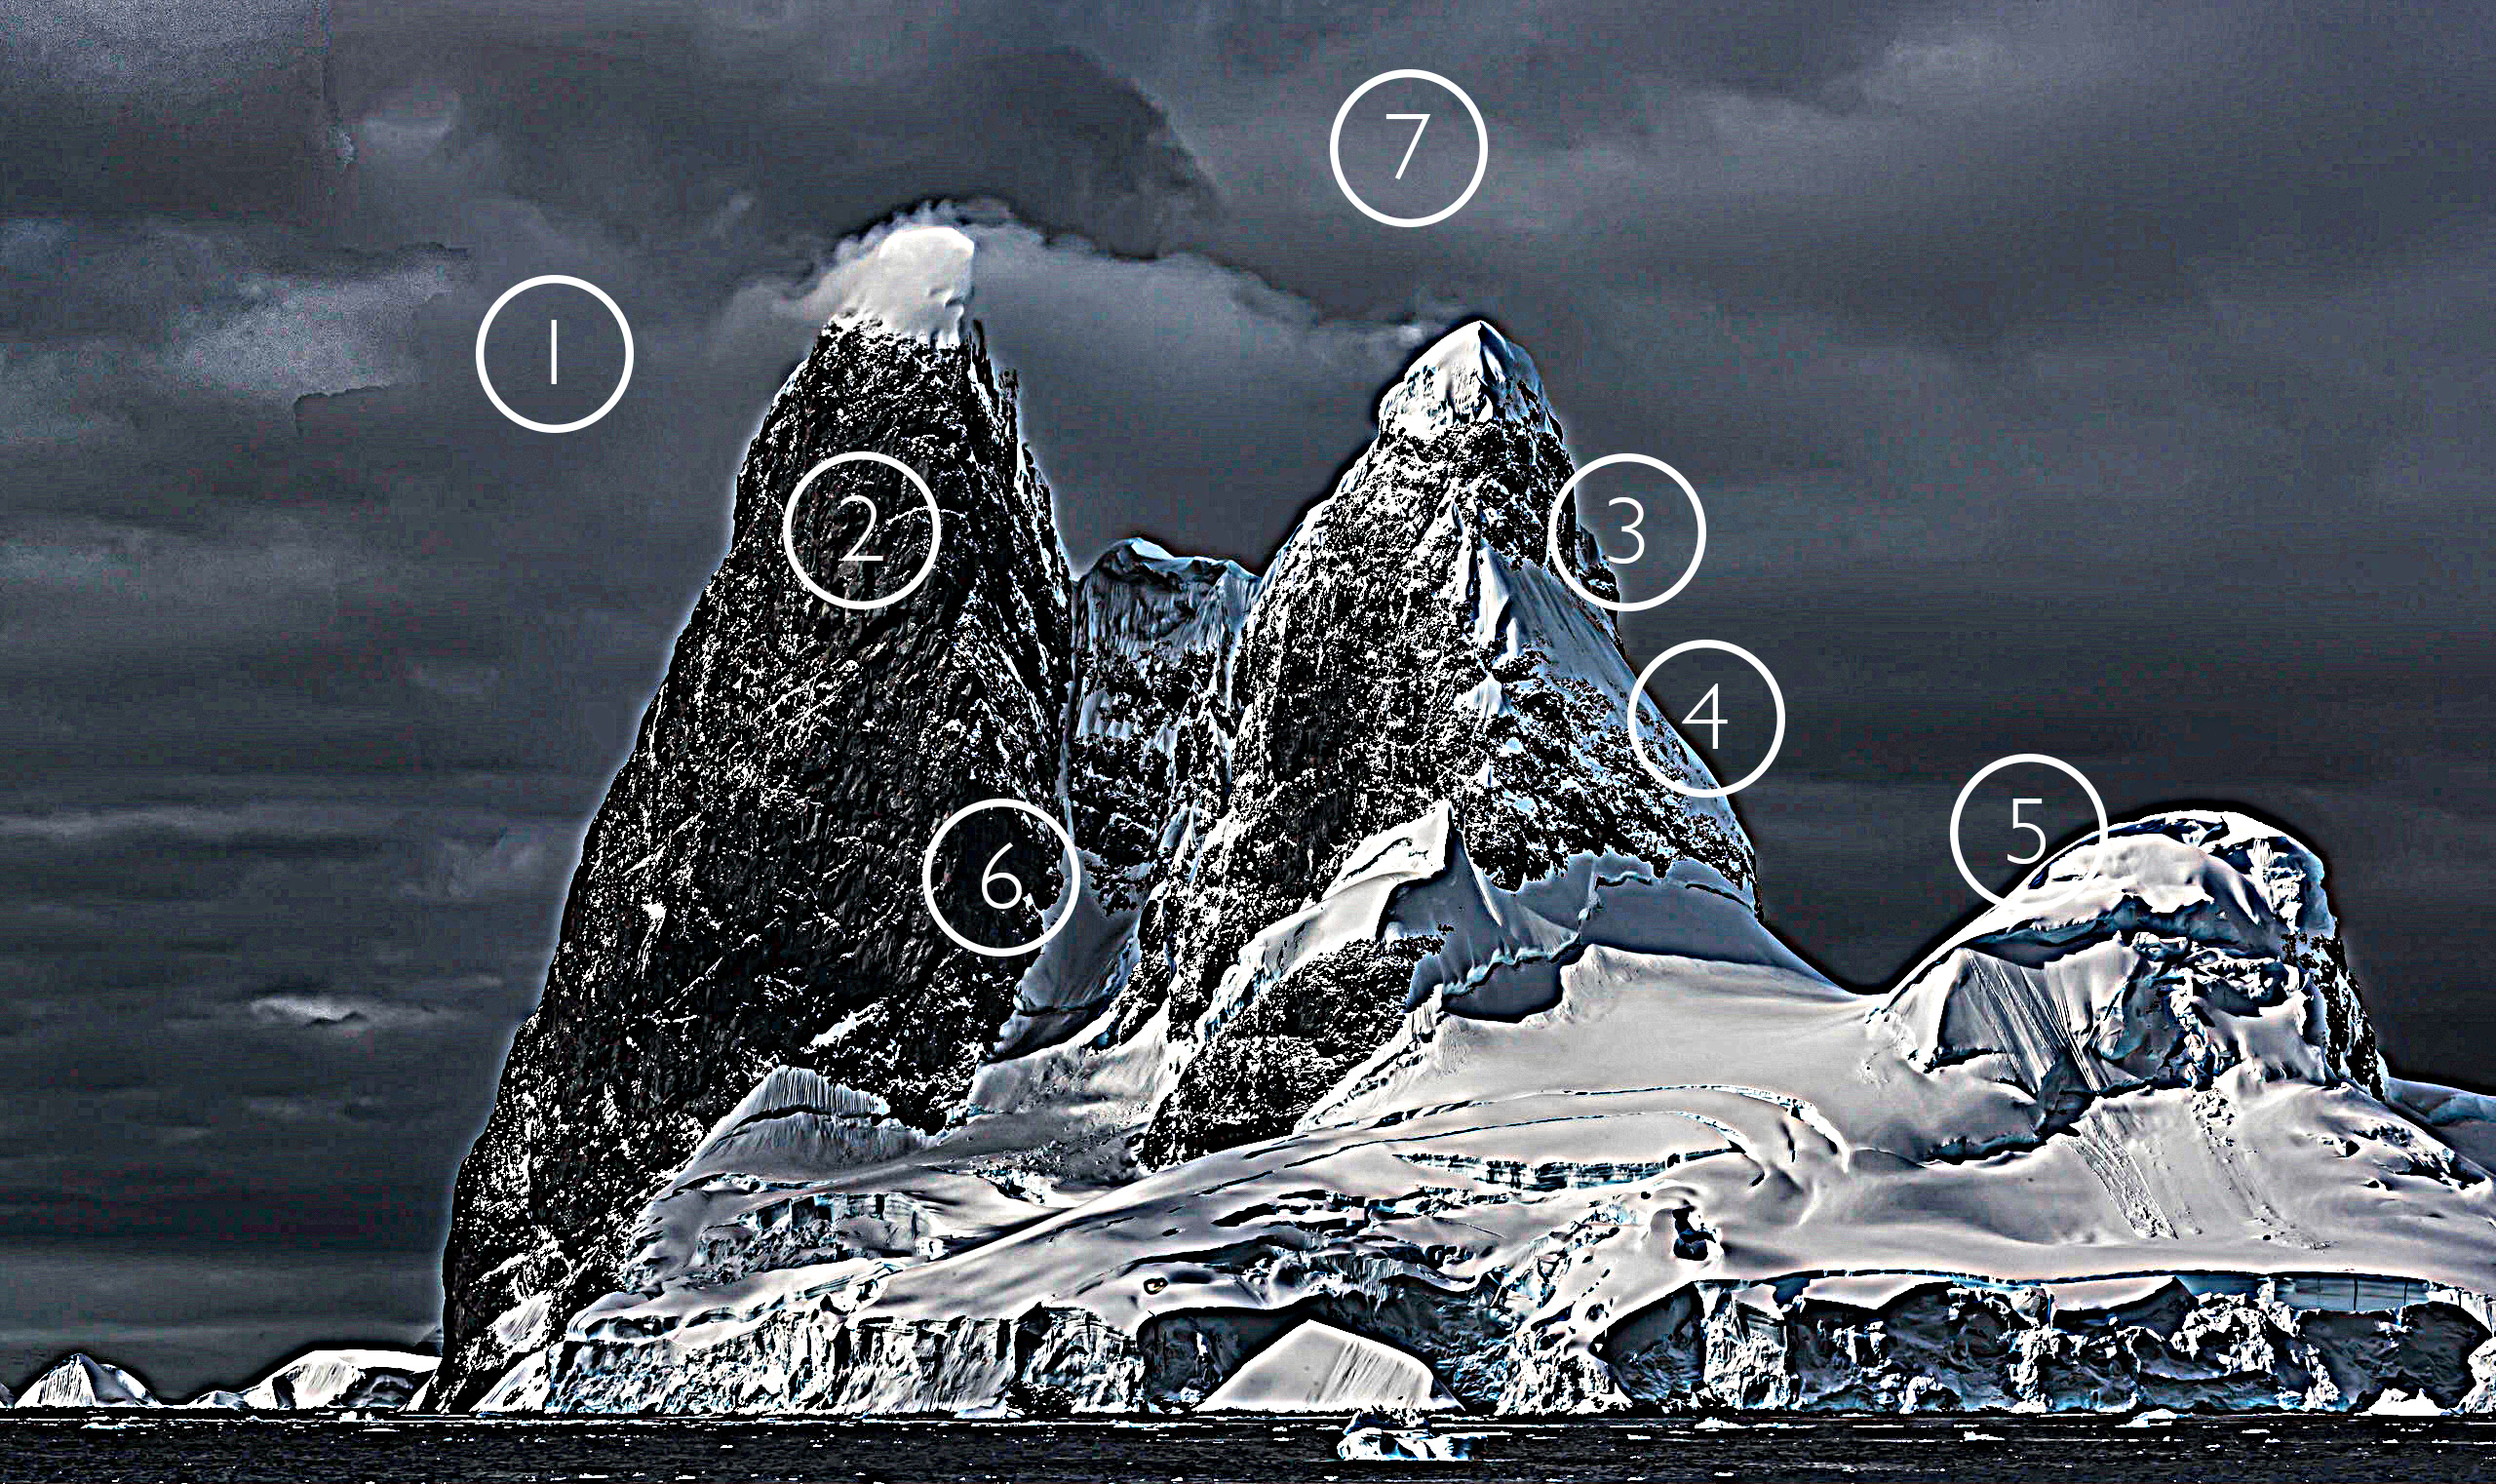
There are limits to how far you’ll want to go. Noise can be so aggressively reduced that surfaces within images become textureless and begin to seem synthetically rendered with software rather than optically captured photographically. This effect may become more pronounced if contours are strongly exaggerated during sharpening. While sharpening, take care not to accentuate noise further. Develop a sensitivity to texture and contour, and use your best judgment. You know what things look like. Make your images look convincing to you, and you’ll quickly convince others.
RAW converter tools have limits. RAW converter tools do a good job with moderate amounts of color noise. Even high settings don’t tend to compromise image quality; sharpness, saturation and hue variety are all preserved. But sometimes they don’t go far enough. For aggressive noise reduction, especially for larger noise produced by Bayer pattern demosaicing, turn to Photoshop and possibly third-party noise-reduction software.
RAW converter tools do a reasonable job with luminance noise, but aggressive applications may compromise sharpness (some, but not all of this can be compensated for with RAW converter sharpening tools), and at times they don’t go far enough. When you encounter situations like this, turn to Photoshop and third-party noise-reduction software.
Most images can benefit from a little noise reduction and sharpening during RAW conversion. For many situations, this is all the noise reduction you’ll need. Many exposures don’t require substantial post-processing. However, some exposures require more power and finesse than these tools can deliver. When you encounter these, move to more sophisticated tools found in Photoshop and third-party plug-ins. But always start here.


