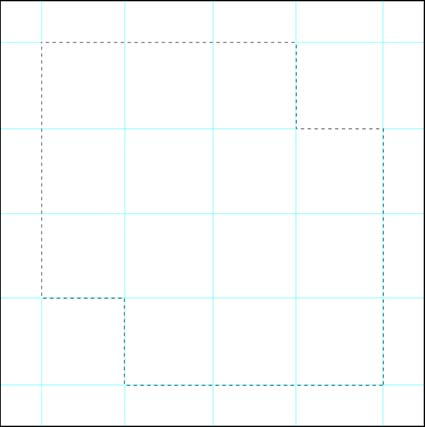
The Lasso tool is best for defining highly irregular selections manually.

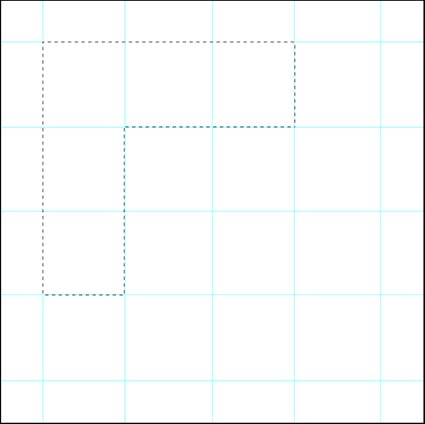
The Polygonal Lasso tool is best for defining rectilinear shapes.
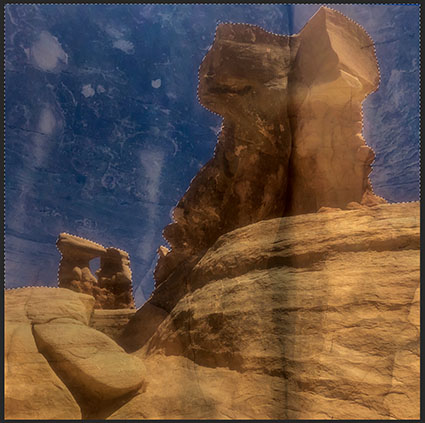
The Magnetic Lasso tool uses pattern recognition to define existing contours.
Photoshop’s Lassos (Lasso, Polygonal Lasso, and Magnetic Lasso) are go to tools for drawing irregular selections.
Which Lasso tool you choose depends on the job you need to get done.
The Lasso tool is best for defining highly irregular selections manually.
Just click, hold and drag to define a selection. Draw selections in closed loops from beginning to end; if you let go of a selection halfway through a shape you’re drawing a straight line will automatically be drawn from where you let go to where you started; on rare occasions, this can be useful.
The Polygonal Lasso tool is best for defining rectilinear shapes.
The Polygonal Lasso tool differs in that it only draws straight lines. Click, don’t hold, drag to the point you’d like to draw a straight line to and click again, then repeat until you define a closed shape. While drawing a selection, you can alternate between the Lasso and Polygonal Lasso tools by holding the Option key.
The Magnetic Lasso tool is best for taking advantage of pattern recognition to define existing contours.
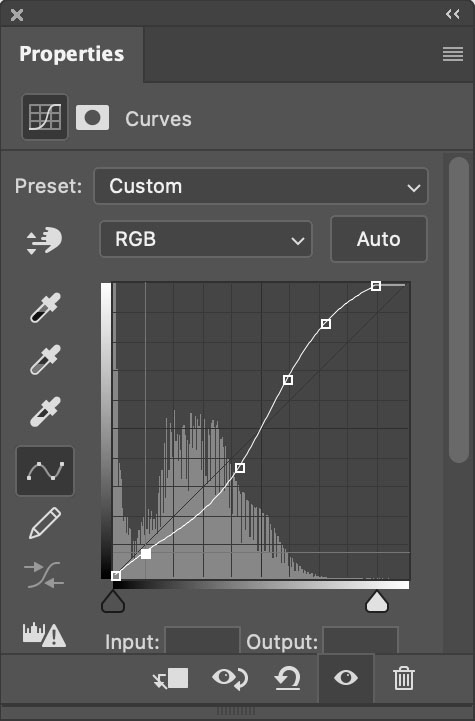
The Magnetic Lasso tool is different; it uses edge detection to draw. You simply guide it roughly along a contour you’d like to define and if the contour has enough contrast the tool will find it. (Using an adjustment layer, you can temporarily boost the image’s contrast, while making a selection to help the Magnetic Lasso tool find edges more easily … and then delete the adjustment layer after the selection is complete.) If you draw too quickly with the Magnetic Lasso tool it becomes less accurate. If you find you’d like to refine the line it defines you can press the Delete key to eliminate the anchor points it makes along the way, one at a time, in the order they were made.
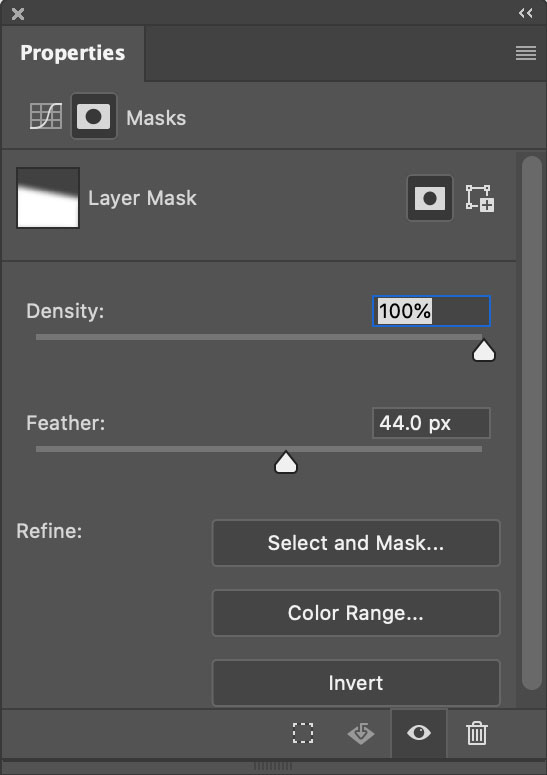
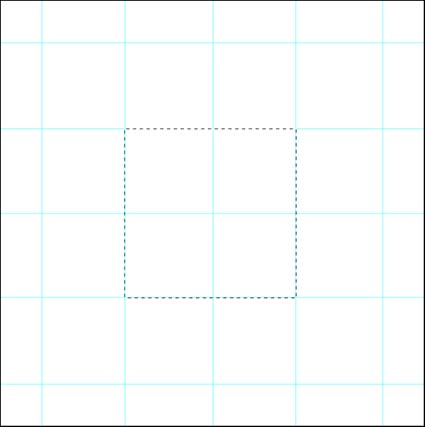
Remember, if you plan to feather a selection substantially you don’t need to be precise; close enough will do, so don’t waste your time making perfect selections for very general applications.
Read more about Selections & Masks.
Learn more in my digital photography and digital printing workshops.